
Pictured: Floating shelf made from Walnut. Approximate dimensions: 24″ x 7″ x 1″. This project was completed for my Master Bath Renovation.
While this particular shelf was built with walnut lumber I purchased from my local Restore (Habitat for Humanity) location. I purchased an 8 foot piece of raw lumber. I liked the 2-toned quality that was naturally present in the piece I chose.
I began by cutting the 8 foot piece of lumber into 2 foot sections (I ended up making 3 shelves, and still have a 4 piece leftover).
Next I sanded the lumber with my orbital sander, starting with 80 grit sandpaper. I then used 150 grit sandpaper, and finally 220 grit sandpaper.
After sanding was complete, I set the board up on stilts (you can also use upside down Solo cups) on my workbench. I used clean rags and applied Tung Oil to the board, following the product directions. WARNING: Tung oil is flammable. Wear protective gloves, eyewear, and DO NOT crumple up soiled rags as they are a fire hazard. Follow all product safety instructions!
Allow 12-24 hours between coats, “sanding” with super fine steel wool between coats. 3-5 coats of tung oil may be necessary.

To hang, follow the instructions on the Floating shelf hardware, ensuring that the hardware is mounted so the shelf will sit level. See above photo for what the shelf hardware looks like without the shelf attached.
Happy DIY’ing!
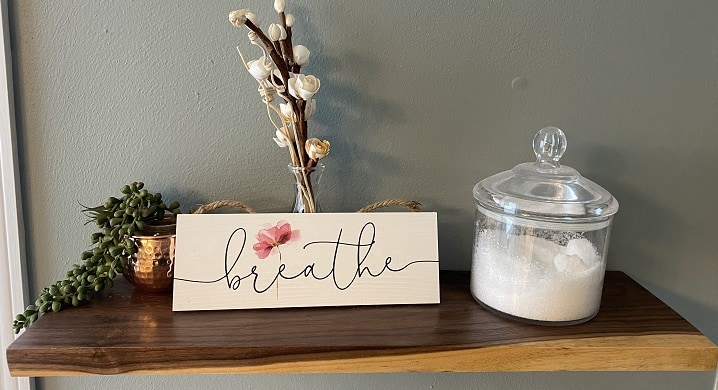
Other items as shown:
- P. Graham Dunn Breathe Floral Pink 10 x 3.4 Pine Wood Decorative String Sign
- Lewondr Glass Diffuser Bottles, 4PCS 5.9″ High 150ml 5.1fl oz Fragrance Diffuser Bottles Aroma Bottles Conical Diffusers Container Vase for Reed Replacement Aromatherapy DIY Home Use – Clear
- Trmbacy Reed Diffuser Stick, Handmade Sola White Rose Wood Flower Diffuser, with Rattan Sticks, for Room Fragrance & Home Decoration
- Cookie Jar, Vinkoe Kitchen Clear Acrylic Airtight Jar for Nuts, Cookies, Candy, Chocolate, 40 OZ

What types of wood are best for beginner projects? - Two Hands DIY
[…] and generally you can simply polish it and bring out it’s natural beauty (see my walnut floating shelf). If preferred, it also takes stain well and is durable. It might not be as common as the ones […]