
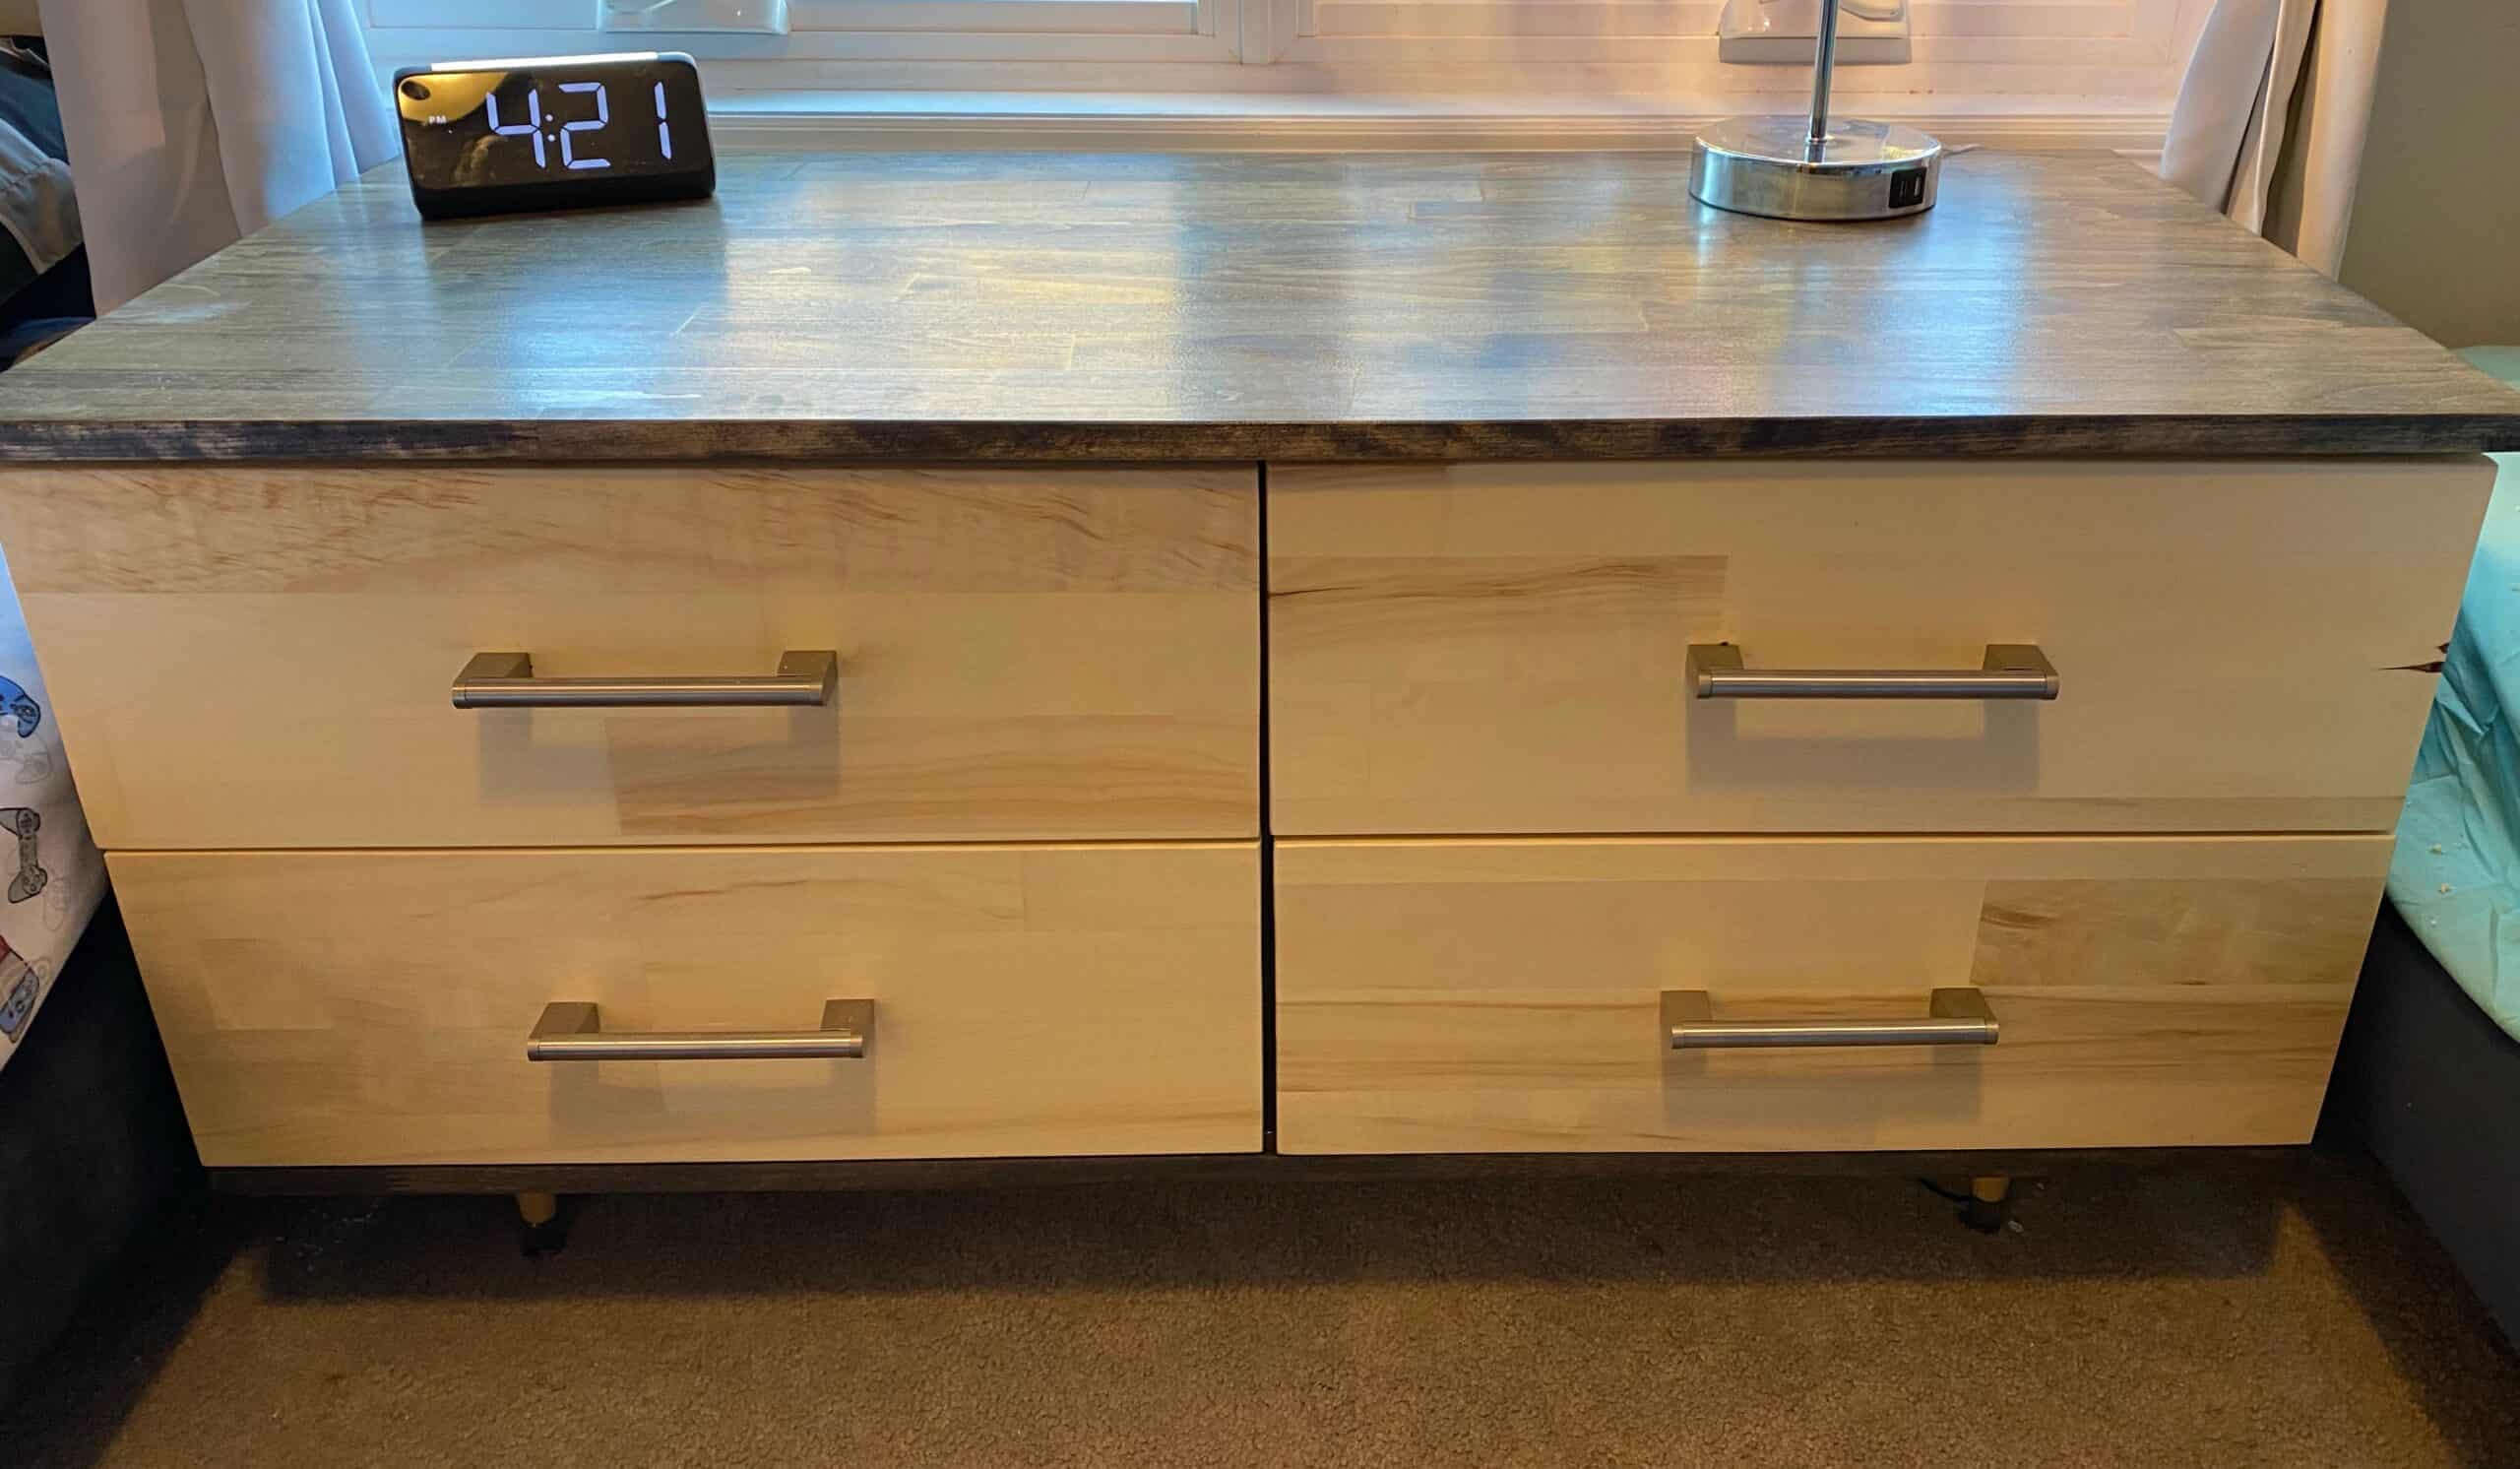
I built this rustic wood dresser for my kids’ room. I recently updated their room with new upholstered bed frames, and I wanted to have a double chest of drawers bureau dresser in between their beds. There is a window between their beds, so I wanted the dresser short enough to not block the window, and there is also a heat register on the floor between the beds, so I added legs to the dresser so the airflow wasn’t blocked.
The final dimensions of this double dresser are: 46″ wide x 22″ deep x 23″ tall (17.5″ tall if you exclude the legs). Follow these 10 easy steps to build this dresser for your home!
Materials:
4 – 1″ x 2′ x 4′ sheet of lumber (I used Aspen because it stains ok, and is cheaper than other types of lumber)
1 – 1/4″ x 2′ x 4′ sheet of birch plywood (or something similar)
1 – 1/2″ x 4′ x 4′ sheet of white Melamine
4 – 8 foot 1″ x 6″ Melamine
Optional: 3/4″ Melamine Edge Banding (to cover the cut edges of the Melamine board)
1 5/8″ #6 Construction Screws
4 – Table legs (mine were tapered table legs, 5 1/2″ each), make sure to purchase the hardware that goes with the legs.
4 sets of 18″ soft close drawer slides
4 drawer pulls of your choice, I used these
220 grit sandpaper
Wood glue
Stain color of your choice, I used Minwax Jacobean on the outside of the dresser, and left the legs and drawer fronts the natural color.
Optional: Color Wash, I used Minwax Weathered Grey
Wood dowel pins (no larger than 3/8”)
Tools Needed:
- Tape Measure
- Optional, but very helpful: speed square
- Circular saw
- Drill
- Impact driver countersink drill bits
- Staining rags/foam brushes
- Hand or Orbital Sander
Cut List:
Using the 4 – 1″ x 2′ x 4′ sheets of lumber, cut:
Top: 1″ x 22″ x 46″
Bottom: 1″ x 22″ x 45″
Left, Right, Middle: cut 3 – 1″ x 21″ x 16″
Drawer Fronts: cut 4 – 1″ x 22 7/16″ x 7 13/16″
Using the 4 – 8 foot 1″ x 6″ Melamine, cut:
Drawer sides: 8 – 1″ x 6″ x 19″, 8 – 1″ x 6″ x 20 1/4″
Using the 1/2″ x 4′ x 4′ sheet of white Melamine, cut:
Drawer bottoms: 1/2″ x 19″ x 18 3/4″
Using the 1/4″ x 2′ x 4′ sheets of birch plywood, cut:
Back: 1/4″ x 45″ x 16″
Video:
Step 1: Cut lumber

Cut all lumber to cut list.
Cutting Tips:
Use a spare straight piece of lumber with a couple clamps as an edge guide for your circular saw. These edge guides can be purchased in stores, but can cost up to $100! This is an easy hack to use instead.
When cutting the thinner birch plywood, wrap the board in tape along where you will cut. This will avoid the board chipping along the cut line.
Step 2: Assemble dresser

Assemble the bottom, middle, and back pieces of the dresser (DO NOT attach top yet).
Pre-drill holes and use a countersink drill bit to countersink each hole. A countersink bit widen the opening of a hole to allow the head of the screw to sit flush with the wood surface.

Use wood glue on the joined edges and insert at least 3 screws per vertical board from the bottom. Make sure the vertical boards are square and plumb (which just means they are truly straight vertically, and at a 90 degree angle).
Next, using the same steps, glue and attach the back piece. Allow this to dry completely.
Step 3: Assemble drawers

While waiting for the dresser to completely dry, assemble the drawers.
The front and back piece should be the longer pieces. I simply used 2 1-5/8” constructions screws in each corner.

Attach melamine edge banding if that is your preference. Use an iron on top of the banding. The heat will ensure the glue adheres best.
Step 4: Stain/seal dresser and legs
Sand and stain dresser unit. Wait 1 hour, and then add color wash. Allow to dry for at least 1 hour. Apply 1-2 coats of Polyurethane to the dresser unit. Allow to dry for 24 hours.
Apply 1-2 coats of Polyurethane to dresser legs and drawer fronts. I opted to forego staining these pieces to achieve a two-toned final look. Allow to dry for 24 hours.
Step 5: Attach drawer slides
Install the first row of drawer slides on the dresser unit and the drawers.
For the bottom row, I used a spare 1 x 3 as a place to rest the slide, so the slide was level, and 2-1/2” above the bottom. This made screwing the slide in place a lot easier. Installing the slides will depend on the hardware you buy. Follow the instructions on your drawer slide.
Step 6: Attach drawer fronts

Attach drawer fronts. I used a high-tech 1/8” spacer (aka a paint stick), set the drawer on this spacer, made sure the side was flush and there was also a 1/8” space between the left and right drawers, and clamped the drawer front in place.

I used four 1-1/4” screws to secure the drawer fronts, attaching them from the inside. (FYI-4 is probably overkill, I probably could’ve used 2 and it would’ve been fine.)
Step 7: Attach drawer pulls
This is a good time to attach the drawer pulls. Where you drill will depend on the size and style of your handles. Mine are 5” wide. Based on the math, I knew I needed a hole 8-11/16 from each side, and 3-7/8” from the top (the horizontal center of the drawer). There are also jigs to help you place drawer fronts if you need help with this. Or feel free to comment below and I can try to help you figure it out.
In addition to measuring, I also verified once I marked my drawer pull holes using a piece of tape marked from my drawer pull.

Once you are sure the placement of the holes for the handles are correct AND level, drill the holes and attach the handle.
Step 8: Mount legs
Attach mounting hardware and legs to the bottom of the dresser. This step isn’t required, as the dresser could simply sit on the floor, but if you recall, for my space, I wanted the dresser up off the floor at least 5”.

I measured 3-1/2” from the each side and used this to square up the mounting hardware. I drilled a VERY shallow hole, just enough to start the hole.

Screwed all 4 screws that came with the mounting hardware, and screwed the leg into the mounting hardware.
Step 9: Stain/seal the top
Sand the dresser top. Apply a pre-stain if necessary (I did), and then stain. Wait 1 hour, apply the color wash to the dresser top. Wait at least 1 hour before applying Polyurethane. Allow to dry for 24 hours.
Step 10: Attach dresser top

I used 3/8” dowel pins. Using my 3/8” drill bit, I added a piece of tape to identify where I should stop drilling. I didn’t want to drill too deep, or too shallow. I dropped far enough to allow about 1/2” of the dowel pin to remain above the surface level. Knowing my dresser top was 3/4” thick, I knew a 1/2” would be perfect.

I dropped one hole towards the front of the dresser and one hole towards the back of the dresser.

I added a drop of wood glue to each hole and inserted the dowel pin as far as it would go. Again, leaving only about a 1/2” poking out. I repeated this for each of the 3 vertical sections in the dresser, and allowed the glue to set.

I added a small drop of paint to the top of each dowel pin.

I immediately set the dresser top on the dowel pins, and pressed down firmly to transfer the paint to the bottom of the dresser top.

When I flipped the dresser top over, the paint sits showed me the exact spots to drill!

Using my 3/8” drill bit, I taped off so I wouldn’t drill farther than about a 1/2” deep. Once all the holes were drilled, I added a drop of wood glue to each hole and placed the dresser top back on the dowel pins. I applied a little bit of pressure to push the dowel pins in, and voila! A dresser!

Please SUBSCRIBE! Happy DIY’ing!
Disclosure:
