
This is a project I’ve been wanting to do for a few years. There is a jetted tub which was a almond/biscuit color, and there is also a shower, with a wall separating the bathtub and shower. Because of this wall, the inside of the shower was very dark.
I started by painting the bathtub, tile, and trim to try and brighten the area. While it worked really well, I didn’t care for the tile even after it was painted white. The wall wasn’t just decorative, it held the plumbing for the shower, so I knew I would have to move the plumbing if I wanted to remove the wall.
The first thing I did was apply for the necessary building permit. I also reached out to my local inspector to make sure that PEX plumbing was allowed in my area (spoiler alert: It is!). PEX plumbing is MUCH simpler than traditional copper piping, and VERY DIY friendly.

I removed the tile portion of the wall between the shower and tub. I wanted to get a look inside to make sure there wasn’t anything that would create additional complications. Good news: there wasn’t! It was just the hot and cold plumbing running to the shower. The basement below this room is unfinished, so I knew I could easily access and re-route the plumbing.

Once I was comfortable with the idea of moving the plumbing, the rest of the tile came out. I taped up the tub to try and avoid chipping the new paint.

After turning off the water, I removed the copper plumbing that routed water to the shower. I also removed the wall and the fiberglass shower. Using my reciprocating saw, I cut the fiberglass shower into pieces to make it easier to remove.

I re-routed the new PEX piping, and installed the shower valve body. My local inspector reviewed the plumbing, and gave me the go-ahead to cover up the wall. I then installed a new acrylic shower pan. This floor pan was 36″ x 36″. I made sure the shower pan was completely level on the floor, and secured it using TEC Floor Mud compound. I installed Cement Board with 1 1/4″ Cement Board screws. Cement Board is better for waterproofing shower walls than standard drywall.

I taped the joints using a fiberglass mesh tape, and then applied TEC White Ultimate Premixed Mortar to the joints using a 6 inch putty knife. This was left to dry completely.

The next step was to apply the shower waterproofing membrane. I applied 2 thick coats of Red Guard waterproof membrane, allowing it to dry in between. When applying waterproof membrane for walls, it’s important to lay it on thicker than you would paint because you want it to fill all the little holes and cracks where water might get to. I used a 6″ foam roller to apply the Red Guard waterproofing membrane.

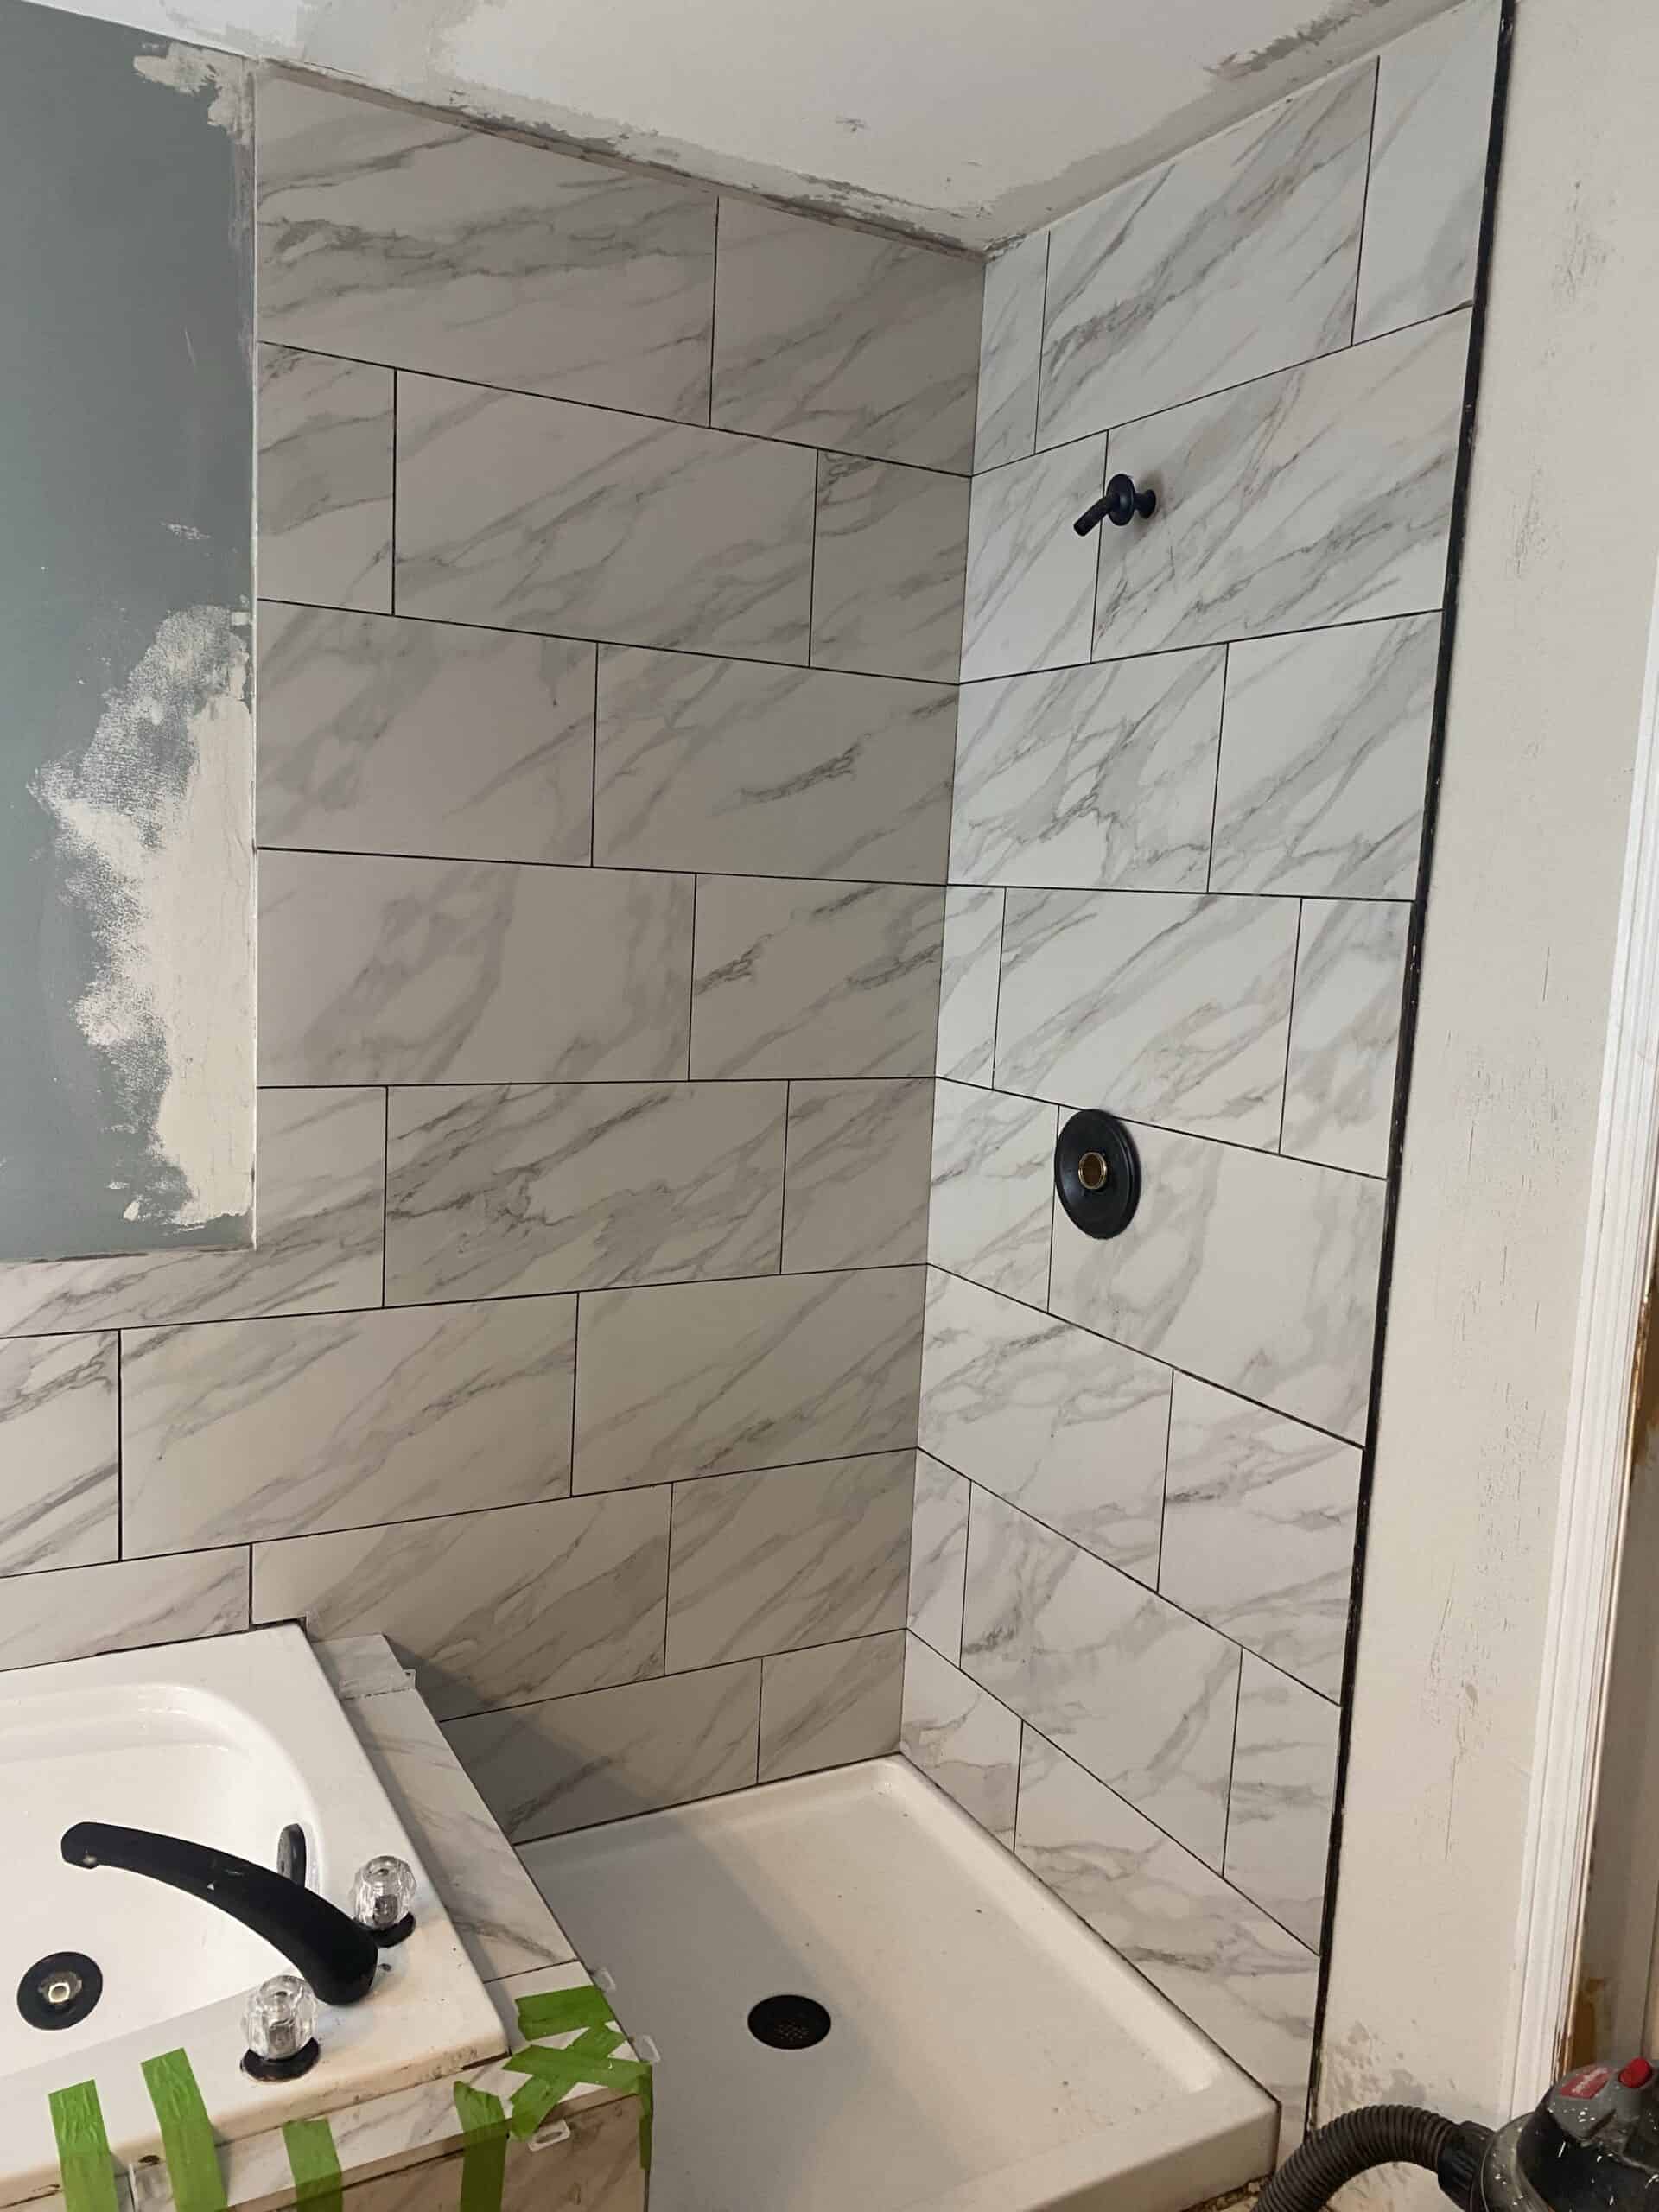
I taped off the shower basin, and set up my laser level. When tiling, using a laser level is extremely helpful to ensure your lines are straight, but more so when using large tile. I would move the level as I worked up the first 4-5 rows, making sure it stayed level as I worked.
I purchased this tile from my local Home Depot: Strata 12 in. x 24 in. Matte Ceramic Stone Look Floor and Wall Tile. I used my tile wet saw to make long cuts, and a FlorCraft™ 20″ Tile Cutter to snap the tile when making shorter cuts.

I used the same TEC White Ultimate Premixed Mortar, as well as two 50-pound bags of TEC Full Set Plus Gray Thin Set Mortar. I applied the thin set using a 1/2″ square-notch trowel. But the thing that made ALL the difference was the clips and wedges. I can’t say enough good things about this tile leveling system. It was SO easy to use, and really helped make the lines look clean and crisp.
After the tiles set overnight, simply knock the yellow spacers of the tile leveling system off the wall (use a rubber mallet to avoid cracking the tile!) The yellow wedges can be re-used over and over again!

Note the lovely hole in the ceiling where the wall was removed. Check out my post in installing shiplap on the ceiling. Using shiplap was SO much easier than attempting a drywall repair. I attempted to install the drywall initially, but it looked SO bad. I love the finished look of the shiplap.

I ended up figuring out that my wet tile saw could cut bevel edges, and opted to have a bevel edge around the tub. I think it added a little bit “extra” to the finish. It also made the edges less sharp. To clean up the beveled edges a bit further, I used a Sanding Stone to “sand” the tile edges before finally placing them. I used painters tape to hold some of the tiles in place while they set.

Once the tiles were completely set/dried, I cleaned the tile and then finished with Delorean Gray pre-mixed grout and caulked all the edges of the tub and shower pan using Delorean Gray silicone caulk so it would match the grout. Once the grout and caulk was dry, I sealed the grout using a paintbrush to apply the sealer to the grout lines.
Check out the full bathroom renovation for more updates!
Please SUBSCRIBE for weekly notification of new posts!
Happy DIY’ing!
Disclosure: Twohandsdiy.com participates in the Amazon Services LLC Associates Program, an affiliate advertising program designed to provide a means for publishers to earn fees by linking to Amazon.com and affiliated sites.

How to install a semi frameless glass shower - Two Hands DIY
[…] finishing tiling my shower and bath surround, it was on to the final step: installing the semi frameless shower screens. I purchased 3 custom […]
Complete DIY Master Bathroom Renovation - Two Hands DIY
[…] Tile around bathtub and large tile shower […]
Kirsten Smith
Looks great! Thanks for sharing!
Michelle Latinovich
A super helfpul and detailed description of bathroom renovations. I have been wanting to change the tile in my shower for quite some time and have been nervous to do it myself. Thanks for these wonderful directions…I can’t wait to get started now!