
Replacing interior doors is a great way to add more character to your home. It doesn’t have to be a huge chore, or an expensive one! The best thing about this method of replacing your doors: NO NEED to know if the door is in-swing, out-swing, right or left handed, and NO need to own or do ANY chiseling, in fact no master carpentry skills needed what-so-ever! If you can trace a circle, you can replace your doors!


Standard Types of Interior Doors:
Typically, there are 2 types of interior doors:
Hollow Core: As it says, these have a hollow interior. They are typically much cheaper, and come in a variety of styles, and are MUCH lighter (due to the hollow-ness), but they do not offer as much sound-proofing as a solid core door. These are a great budget option for your home. Hollow core doors can typically be painted or stained, or come pre-finished.
Solid Core: Again, as it describes, these doors are solid, whether that be solid wood, or some kind of composite material, it just means: they aren’t hollow. They also come in many varieties, are heavier duty, and can offer more sound-proofing. Solid core doors are my personal preference, as I think they just have a nicer feel in a home. Solid core doors can also typically be painted or stained, or come pre-finished.
Parts of a Door:

Generally, you can purchase doors that are “pre-hung”, which means that the door will come with hinges attached to the door jamb, and you will need to fit it in your current door frame. A couple issues with this: You need to measure VERY carefully to make sure the door (and door jamb) fit perfectly in the current location. You also will be somewhat limited to the type of hinge that comes with the pre-hung door, and it can be very difficult getting the door installed properly (meaning that the door will open and close the way it’s supposed to).
If you go this route, that’s great, but might I suggest a HUGE helper to install pre-hung doors? Here you go: These little clips will dramatically increase your chances of installing a pre-hung door correctly (and you can likely do it as a 1-person job also!).
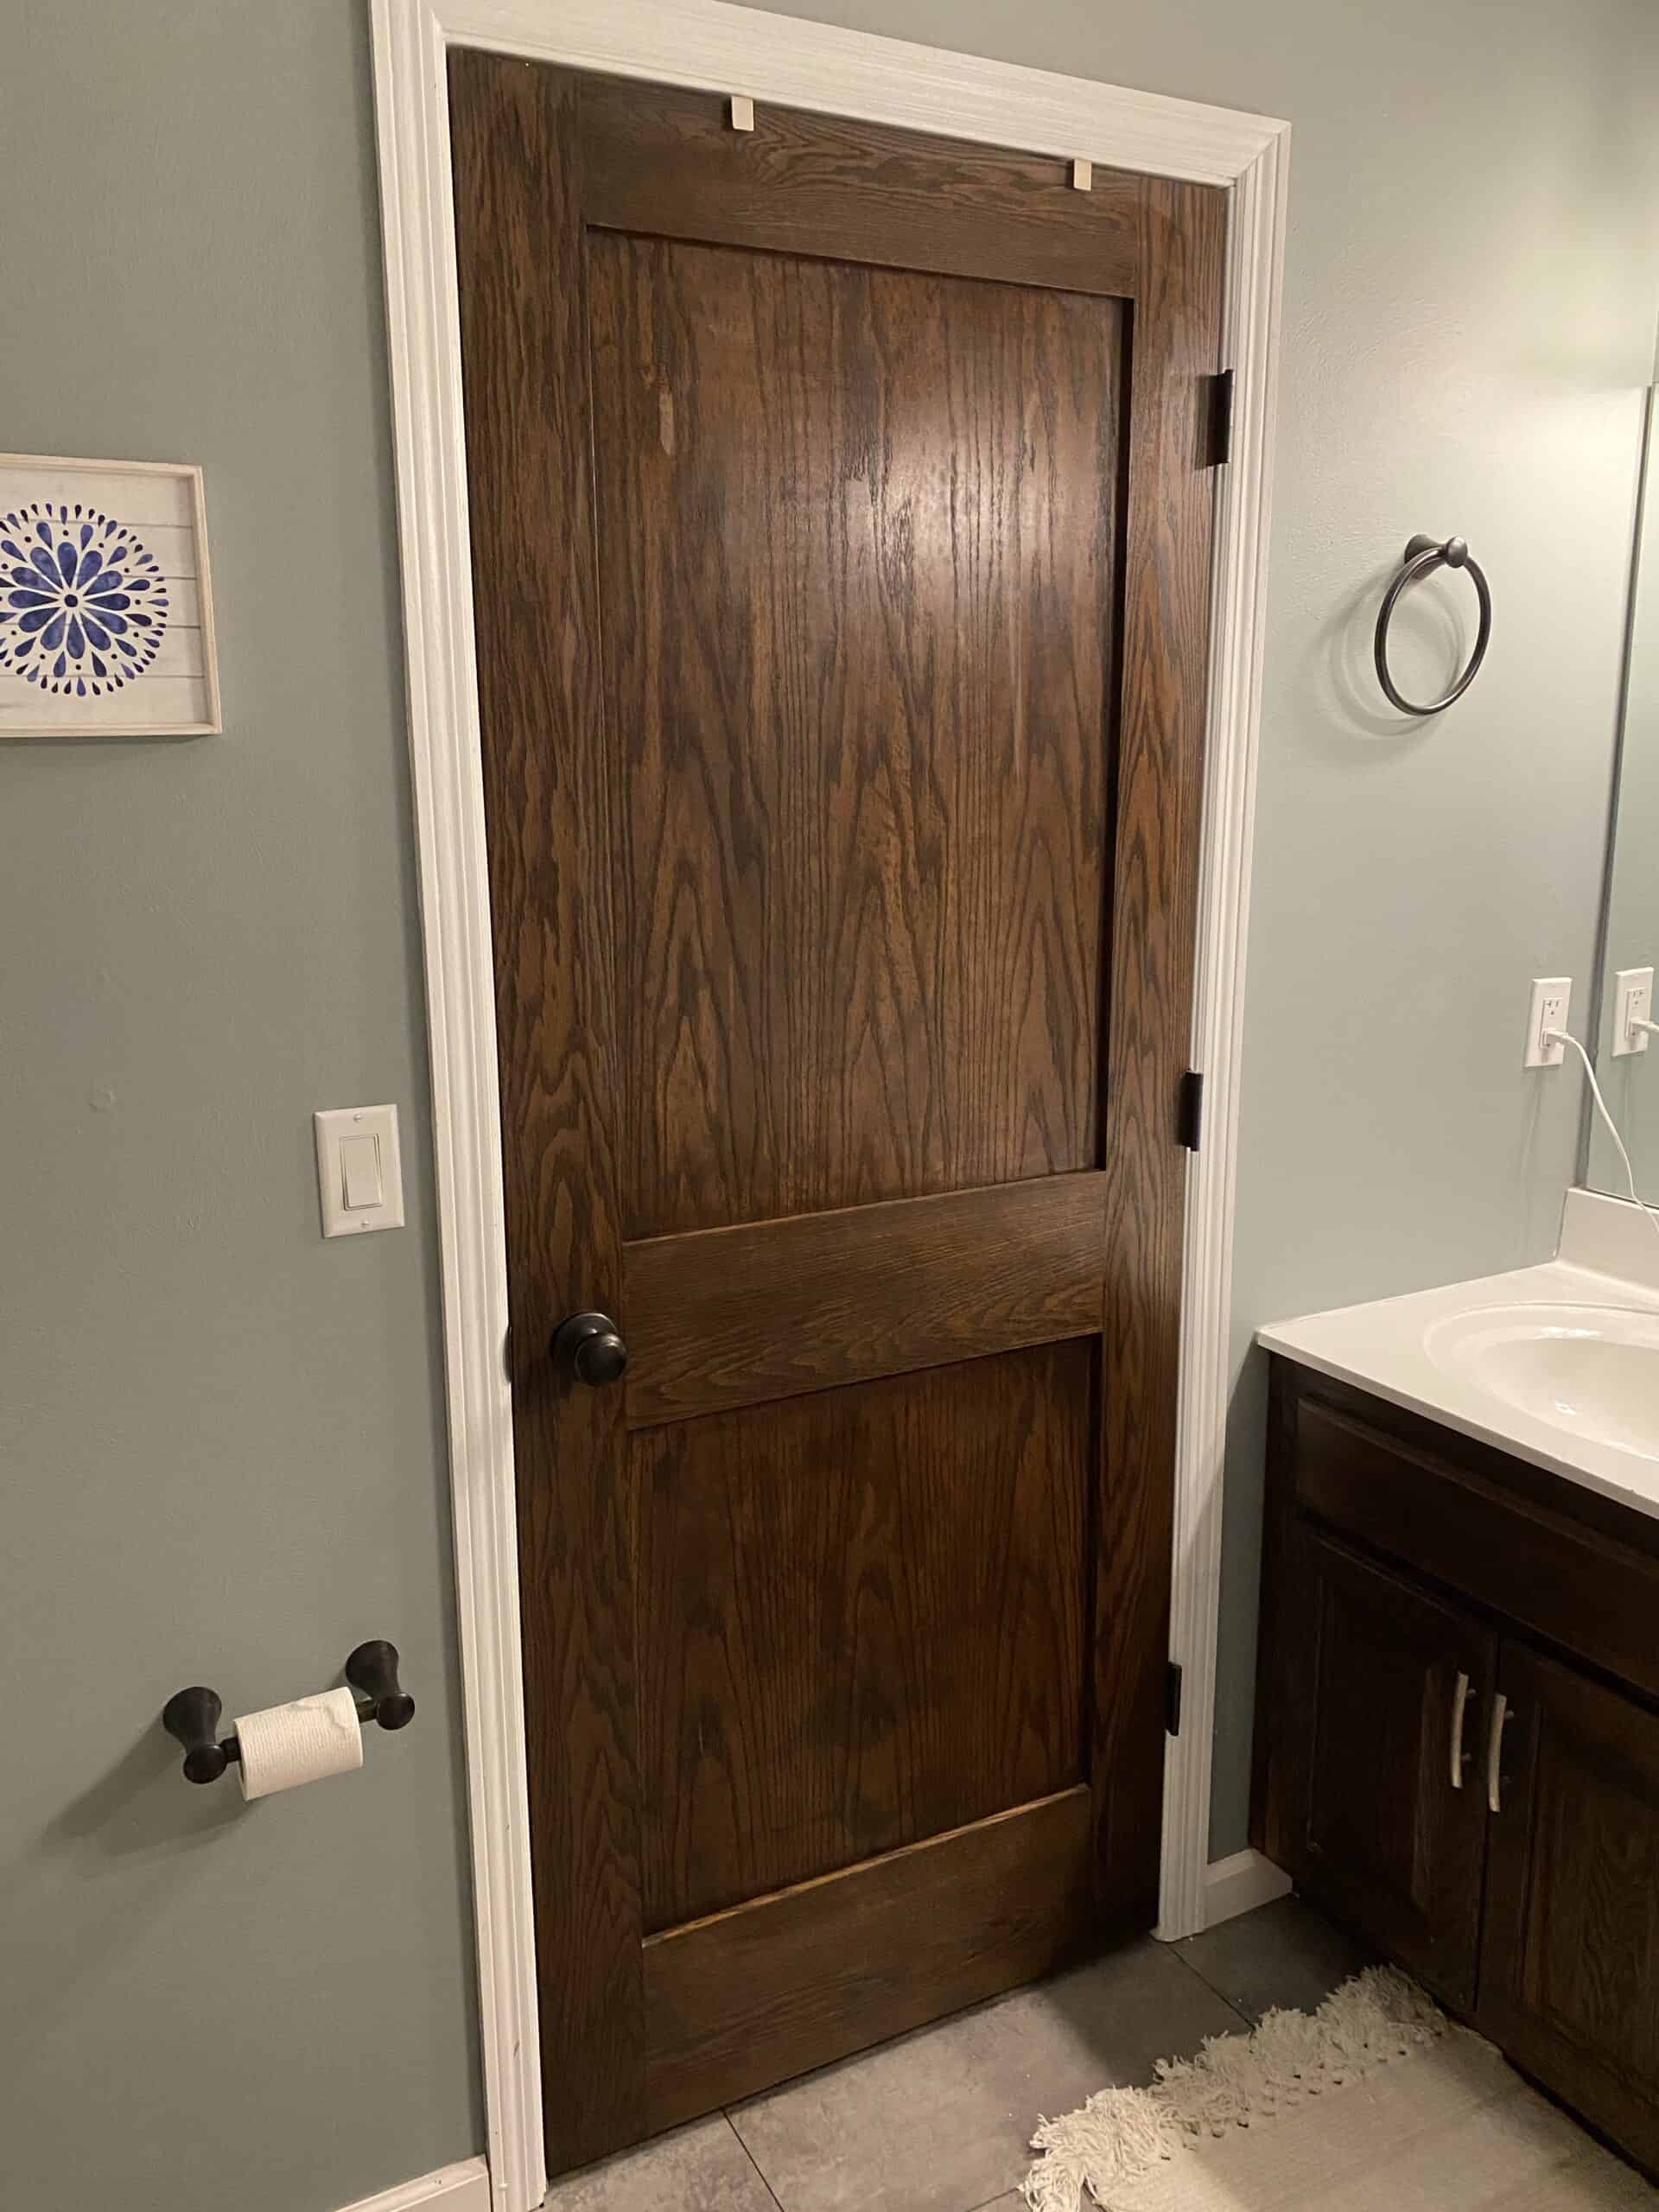
For this article, however, we are going to be replacing the “slab” door only. This means that we will be leaving the current jamb and trim in place, and ONLY replacing the actual door and hinges. Slab Doors are generally much cheaper than buying a whole new pre-hung door system. If you prefer to use Hollow Core slab doors, you can likely replace your entire house of doors for under $500. If the door jamb of your opening is in good shape, there is NO reason to rip it out and pay MORE to put one back in.
Let’s make things simpler on ourselves, shall we?
A couple important notes for replacing your doors:
- Measure EACH door you want to replace (just the door, not the surrounding jamb and trim). DO NOT assume that all doors in your home are the same size, they likely aren’t.
- NO NEED to know if the door is in-swing, out-swing, left or right handed, we don’t need this information.
- Measure the current door’s hinges, and either a) re-use them, of b) purchase the same size and shape (usually rounded or square edged) hinges. This will be VERY important down the road.
Tools Needed:
- Measuring Tape
- Router
- Orbital Sander
- Hinge Jig
- Door Lock Jig
- Drill and Impact Driver
- Safety Goggles
Materials Needed:
- New Door (your preference) – Order a SLAB door, not a prehung door. No pre-bored door handle hole, and no hinges pre-routed… just a simple slab door (these are also MUCH cheaper than the pre-hung “door systems”) I went with a solid oak, 2 panel style door.
- New door handles (if you prefer, or use the old ones)
- New hinges (if you prefer, or use the old ones)
- All-Purpose Kilz paint
- White trim paint (semi-gloss finish)
- Paint brushes
- Painters tape
- drywall foot lift
- Staining Supplies
- Pre-stain conditioner
- Stain
- Rags
- Handi-painter (cut in 2 to get more uses out of each piece)
- polyurethane
Steps:
- Remove the old door, leave the hinges on door
- Remove door handle from the door
- Remove door latch from the door frame
- Using a 1:1 white vinegar to water solution (or your preferred degreaser/deglosser) thoroughly clean the door frame.
- Sand the door frame. It doesn’t need to be perfect. If the doorframe is just varnished, a once over with 220-grit sandpaper is enough. If there is a thick coat of paint on the doorframe, remove the paint FIRST, and then sand with 220-grit sandpaper.
- Paint the door frame with 2-3 layers of All-Purpose Kilz paint
- Paint the door frame with white semi-gloss paint (Any standard brand is fine, request trim paint if you can)
- Sand the door with 220-grit sandpaper. Just a once-over is fine.
- Your working area temperature is important: it should between 60-90°F (16-38°C) and the relative humidity below 85%, in a well ventilated area. Also, allow enough time to finish the staining (stain needs to be applied within 2 hours of applying the pre-conditioner.)
- Apply the pre-stain conditioner over the entire door using a foam brush or cheap paintbrush.
- Within 2 hours of applying the pre-stain conditioner, apply the stain using a Handi-painter. After 1-2 minutes, wipe excess stain away with a clean dust-free rag (like a tshirt). Allow to fully dry, approximately 8 hours.
- Apply 2 coats of polyurethane, letting it dry in between (about 1-2 hours). After final coat, Allow to fully dry before drilling into the door (about 24 hours should be fine).
- Lay the new door flat on a couple sawhorses. Lay the old door ON TOP of the new door, lining up all edges. Make sure they are both laying the same way (top to top, bottom to bottom).
- Trace a hole on the new door for the door handle.
- Let the hinge dangle from the old door over the side of the new door. Trace around the hinge on the new door. Make a note of which direction the hinge arch/edge is for reference when you use the hinge jig.
- Using the door lock jib, drill the holes for the door handle. If you are unsure of how to set the door lock jig, add the door lock jig to the old door (you will have to remove the door handles from the door first). Line up the door lock jig. This will ensure that the new door lines up perfectly with the door opening.
- Using the Hinge Jig and a hand held router, route the hinges using the hinge jig (follow the instructions for the jig)
- Install the door handle.
- Attach the hinges to the door.
- Using a drywall foot lift (or a second person if you have help) to help lift the door and attach the hinges to the door frame.
- Install the door latch to the door frame
Enjoy your new doors!
Check out the entire bathroom renovation here!
Happy DIY’ing!
Disclosure: Twohandsdiy.com participates in the Amazon Services LLC Associates Program, an affiliate advertising program designed to provide a means for publishers to earn fees by linking to Amazon.com and affiliated sites.

Complete DIY Master Bathroom Renovation - Two Hands DIY
[…] Installing a new master closet door […]