
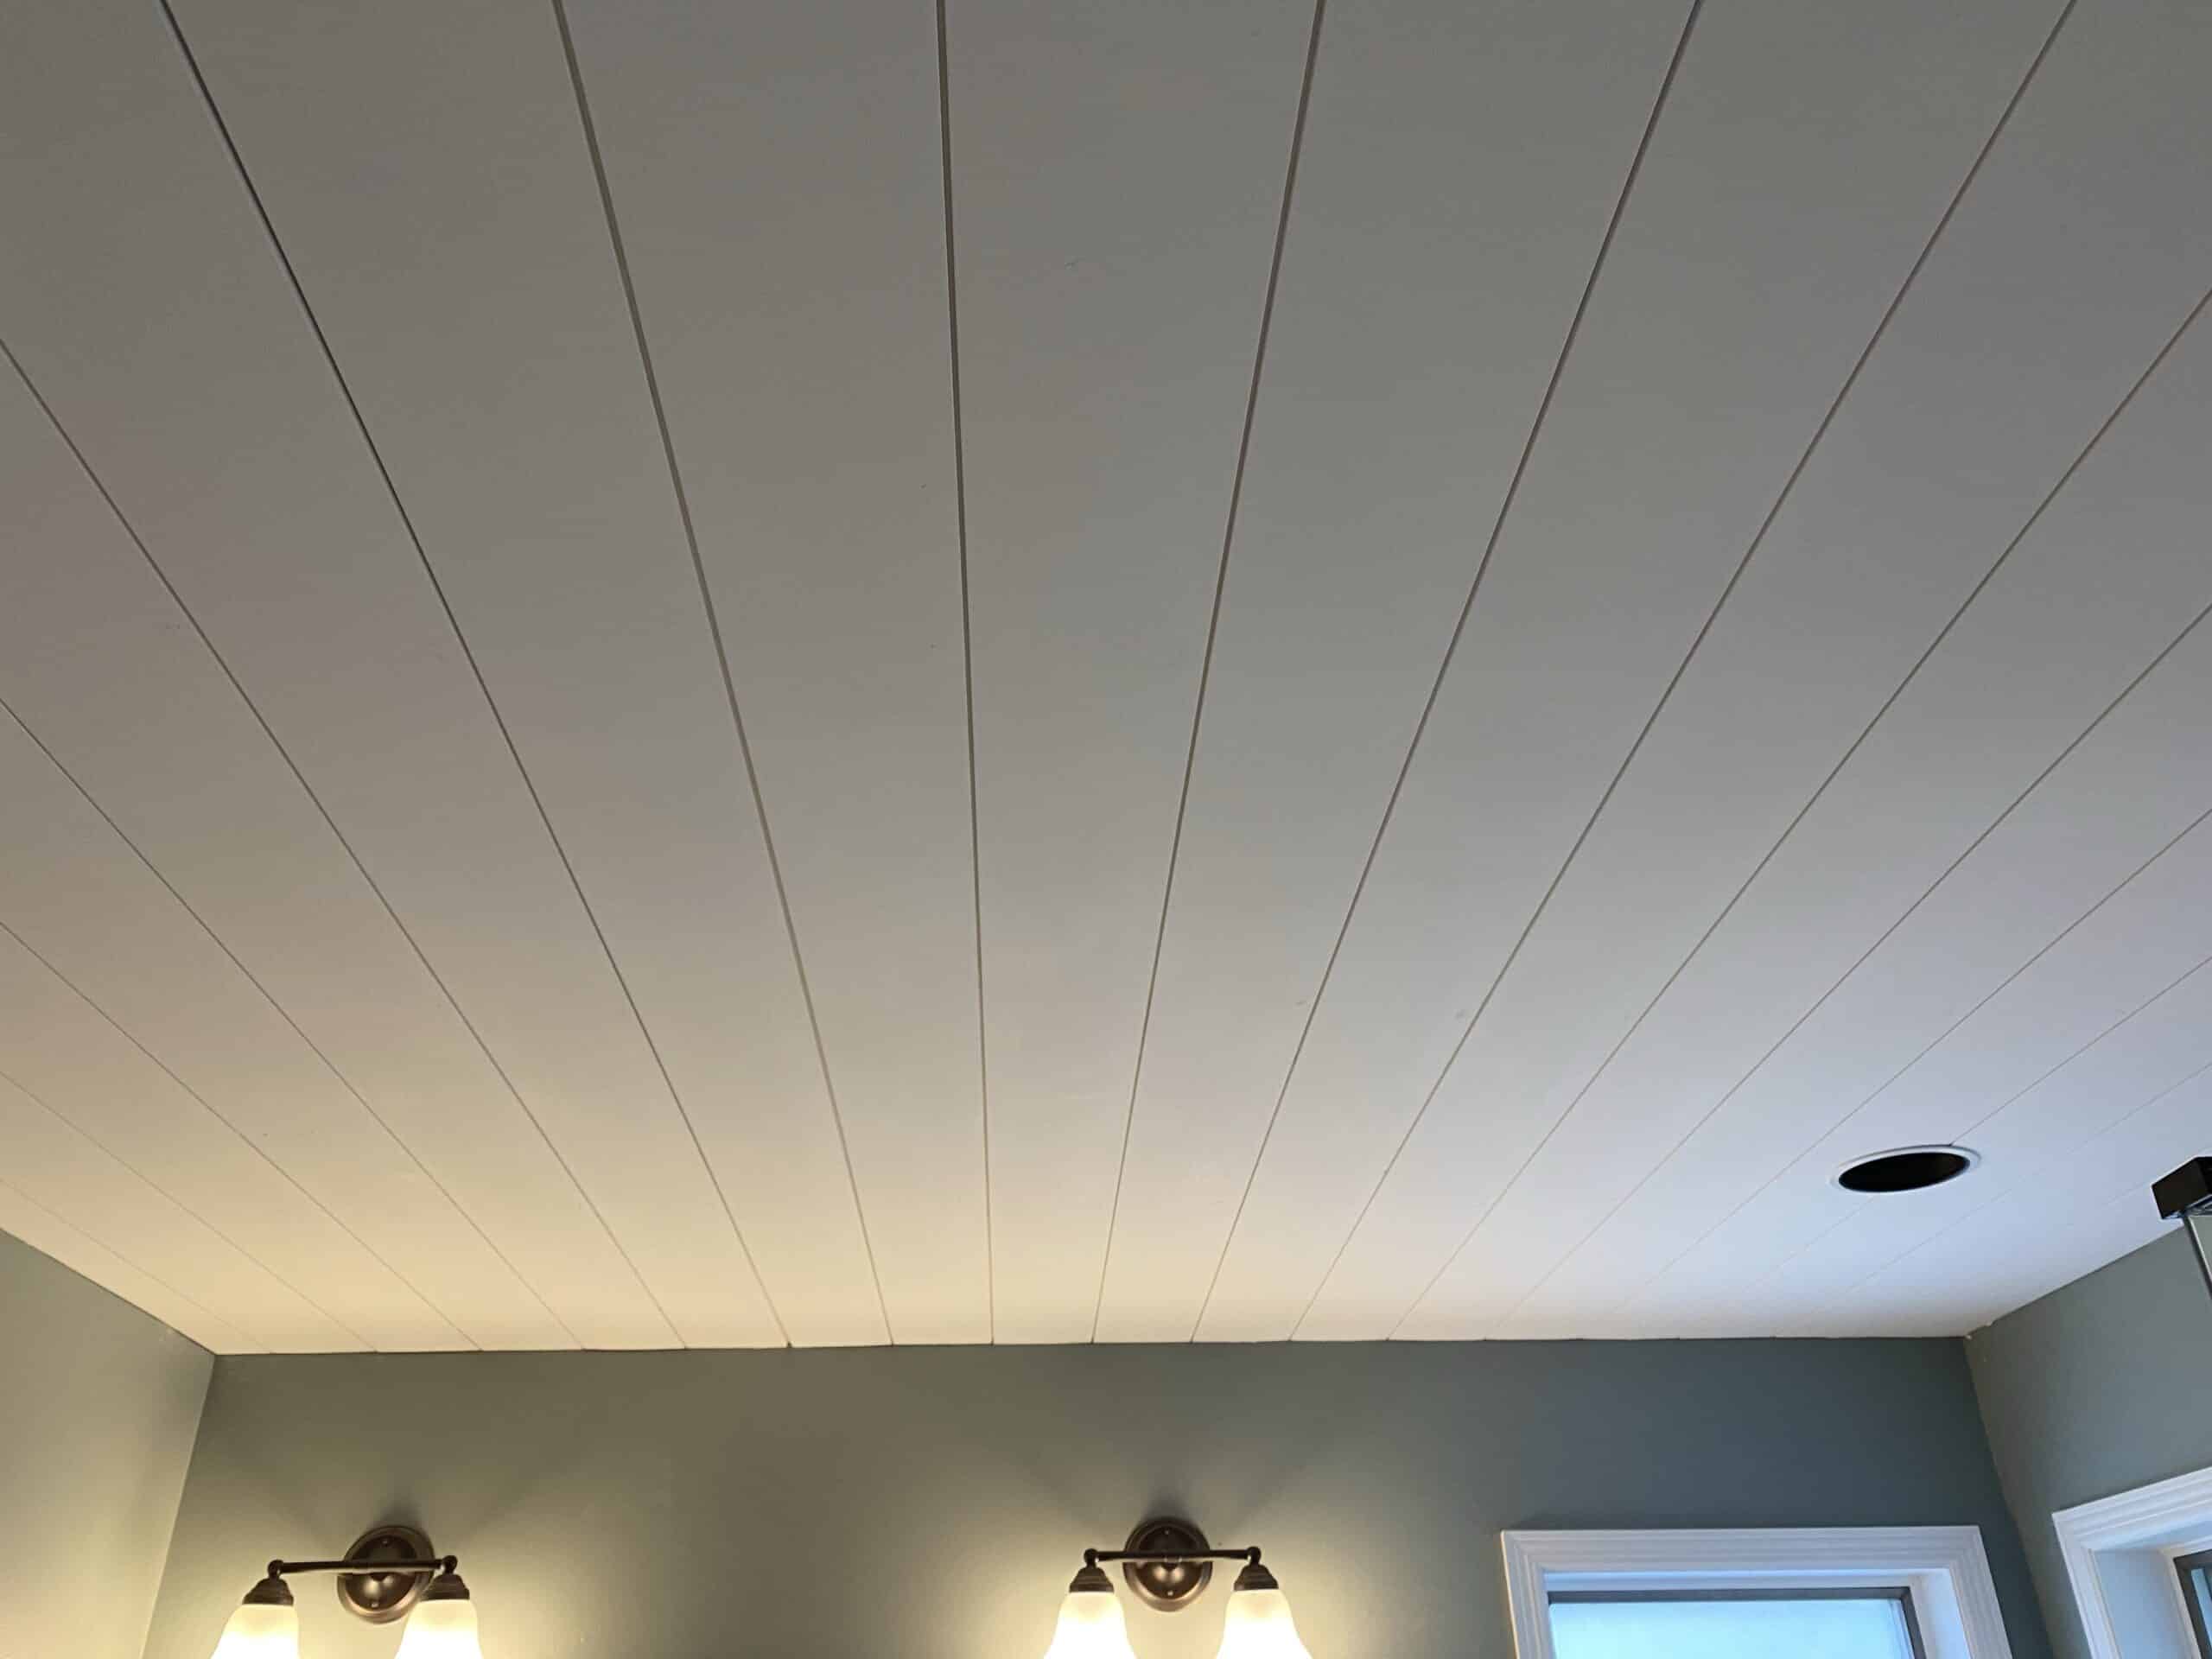
A shiplap wall is a great way to add subtle texture to a ceiling and is WAY easier than drywall!
When I was completing my Master Bathroom renovation, I removed a partial wall between my tub and shower, leaving a giant hole in the ceiling. I am really bad at drywall, and I really just don’t like doing it. I also wasn’t confident that I could smoothly patch the large ceiling hole, and texture-match the rest of the ceiling. BUT, that didn’t stop me from trying (and failing, it looked HORRIBLE)…

I couldn’t find a drywall contractor that would take such a small job, so, my easy solution: cover it with shiplap!
Why is it called “shiplap”? It’s called that because of the overlapping nature of the boards. It was originally used on ships to keep water from seeping into the seams.

The bathroom ceiling is approximately 10 ft x 10 ft. I knew I didn’t want to do a lot of seams, so I wanted to buy boards that were at least 10 feet long. Unfortunately for me, the boards only came in 8 foot or 12 foot increments. Oh well, I ended up purchasing (16) 12 foot lengths of primed-white shiplap boards from my local home improvement store.
Prep:
Find the studs and mark them on the ceiling. The best stud finder?? A magnet. Using a small refrigerator magnet, I was able to find the studs (aka joists) in my ceiling (or rather, the screws holding them in place). Once I found the joists, I used my chalk line reel to snap a chalk line on the ceiling. This would be an easy way to make sure the boards were always fastened to the joist (and not just the drywall) in the ceiling.
Unlike with wall shiplap, you need to make sure the shiplap boards will run PERPENDICULAR to the ceiling joists. If not, you won’t be able to securely fasten the board to the ceiling.
Install:
Lay the first board flat against the wall. Secure with a brad nail gun, using a minimum length of 1.5” pins in the nail gun. You want to fasten where there is a joist for the nail to secure into. Also, angle your nail gun. You don’t want to shoot the nail straight up. It’s better to tilt your nail gun at a 45 degree angle.
To avoid excessive nail holes (which you will have to fill later), fasten the board in 2 locations over each joist – one on the shiplap board, and one on the seam (see below).

Continue adding rows until you get all the way to the other side. If you come across any vents or light, cut a hole in the shiplap board (using a jigsaw is probably the easiest way, but not the only way).
After all boards are installed (I think it took me about 1-2 hours to install the entire ceiling), use wood putty or nail hole filler to fill ALL nail holes, and fill in any cross cut seams if necessary.

Let the wood putty dry, lightly sand the filler compound., and add a final coat of paint!
Please SUBSCRIBE for weekly notifications of new posts!
Happy DIY’ing!

Complete DIY Master Bathroom Renovation - Two Hands DIY
[…] Install shiplap ceiling […]
Bathroom Renovation: Adding tile to the shower and walls - Two Hands DIY
[…] the lovely hole in the ceiling where the wall was removed. Check out my post in installing shiplap on the ceiling. Using shiplap was SO much easier than attempting a drywall repair. I attempted to install the […]
How to install a semi frameless glass shower - Two Hands DIY
[…] in the ceiling leftover from where the wall was removed? Pretty ugly, right? Check out my post about installing shiplap on the ceiling. It looks WAY better […]
How to stagger shiplap – Avoid these mistakes - Two Hands DIY
[…] hard wood flooring, etc.) Also check out my other posts on installing shiplap as an accent wall, installing shiplap on a ceiling, and installing vinyl […]
Jennine Moser
I’ve to say you’ve been really helpful to me. Thank you!