
Updating a toilet is an easy task that can be completed in a few hours. If your toilet is leaking or cracked, it’s probably best to call a professional, but if your toilet is working fine and just needs to be refreshed, save yourself a few hundred dollars and DIY it with your own Two Hands!


Purchasing a new toilet – a few considerations:
(not a complete list – but these are the common ones)
- Rough-in distance – This is probably the MOST IMPORTANT. You need to know the distance from the wall to the flange to know what size toilet to purchase. It’s very easy to figure this out. Measure the distance between the wall and the flange bolt at the bottom of your existing toilet. (It’s likely either 10″ or 12″).

- 1-piece or 2-piece – Generally toilets come in a 1-piece (toilet and tank as one solid piece), or a 2-piece (toilet and tank separately)
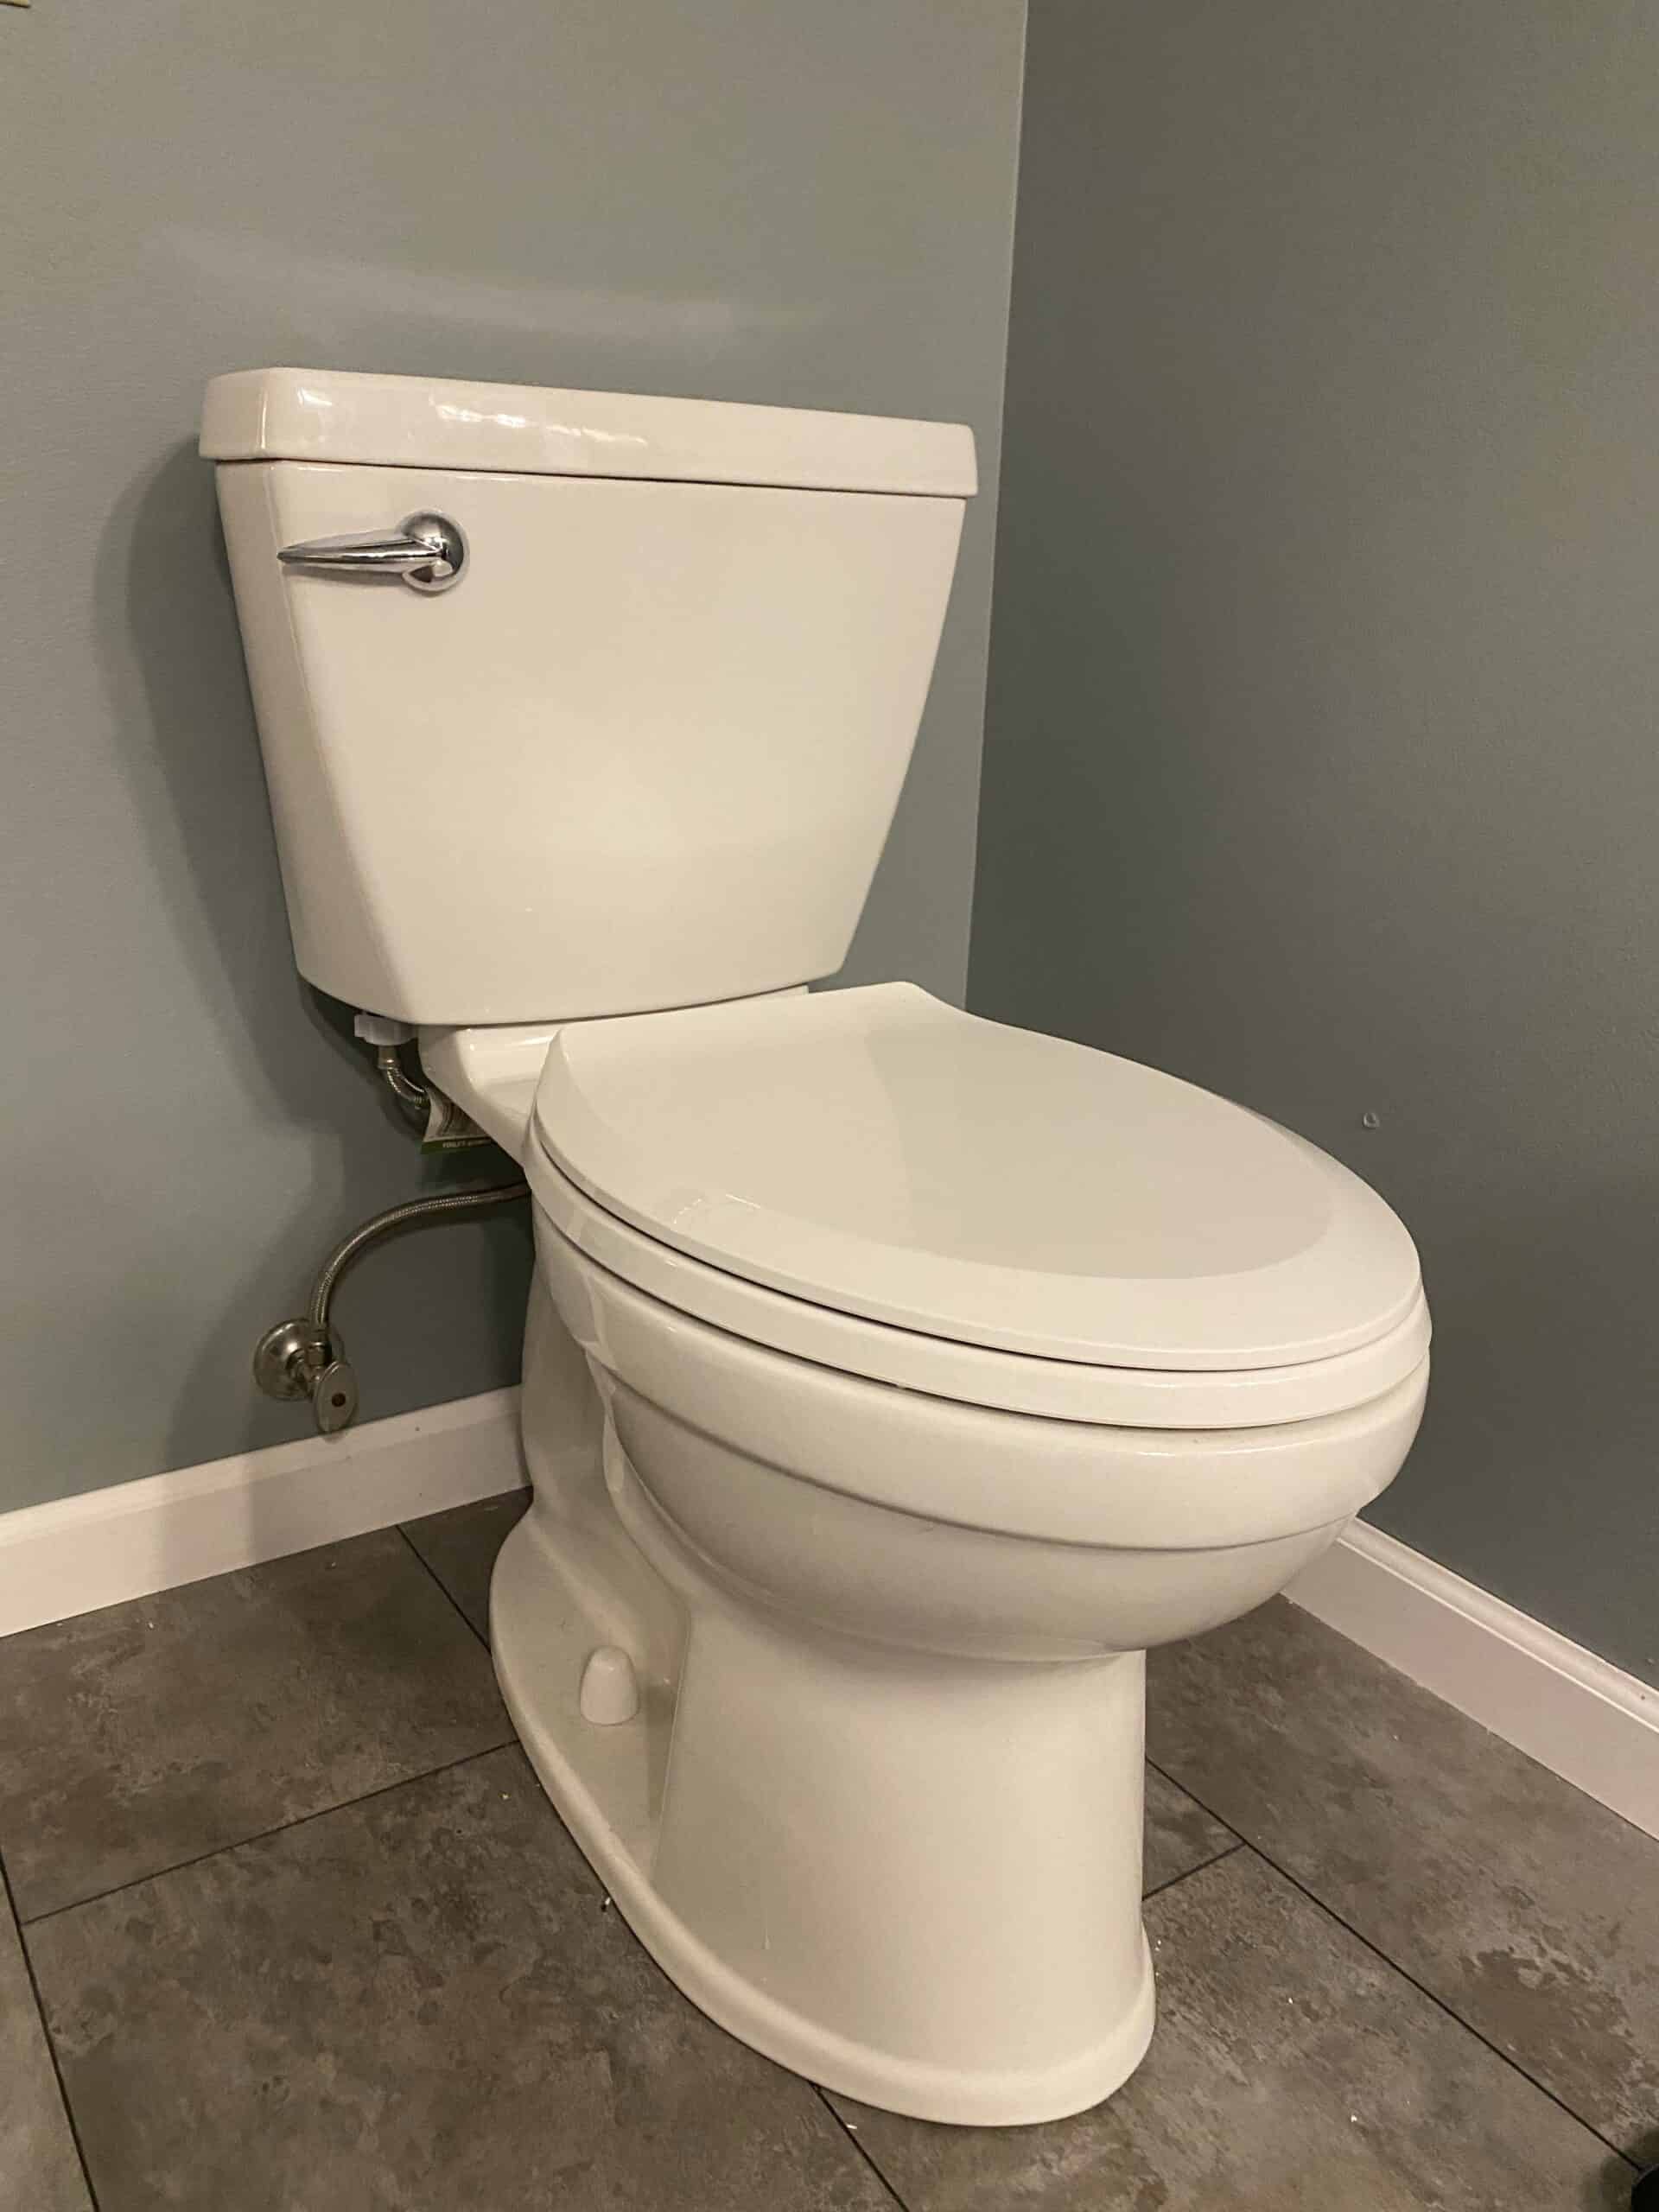
- Bowl shape – Generally, a round or oval (aka elongated) bowl are the 2 options. In a small bathroom where the wall opposite the front of the toilet is close, it’s likely better to choose the round option, as oval will take up more space.
- Bowl height – This is an important consideration if you have elderly in the home (or if you yourself plan to grow old in your home). A taller toilet is easier for an elderly person to sit down, and stand up from.
- Color – This is strictly personal preference.
- Flush type – You can generally choose from a flush lever/handle, or a flush push-button. Again, this mostly comes down to personal preference.
- Flush performance – This is important if water conservation is important in your area, and may be restricted depending on the local water conservation laws.
- When purchasing a toilet – ensure that all the hardware and inside flushing parts comes with it (generally they do, but it doesn’t hurt to make sure)
Steps:
Remove the old toilet:
- Public Service Announcement here folks – WEAR LATEX/RUBBER GLOVES throughout this process. I don’t have to tell you all the bacteria that could be on a toilet – just wear gloves people…
- Turn off water on the water supply line to the toilet
- Remove the water line from the toilet (let the line sit into a cup so if it drips while you work, it doesn’t make a mess),

- Flush the toilet a couple times to drain as much water as possible
- Using a large sponge to soak up as much of the remaining water out of the tank and bowl, empty it into a nearby sink or bucket
- Lay a garbage bag on the floor with the mouth of the bag open so you can load the toilet tank into it

- Remove bolts from the bottom of the tank. Lift tank off the base – lay it on the garbage bag, pull the garbage bag up and around the tank, remove this and dispose of safely (check your local requirements for proper toilet disposal – toilets can be considered biohazard).
- **If your toilet is a 1-piece toilet, SKIP THIS STEP

- Remove caps covering the bolts holding the bowl to the floor

- Unscrew the bolts that are now exposed
- Lay a garbage bag on the floor with the mouth of the bag open so you can load the toilet into it
- Lift the bowl off the floor, lay it into the garbage bag, dispose of this responsibly (check your local requirements for proper toilet disposal – toilets can be considered biohazard).
- IMPORTANT: With the sewer pipe now exposed, sewer gas can leak into the room. Sewer gas can be very toxic and dangerous! Insert a waded up rag into the drain hole to prevent sewer gas from leaking into the room.
- If your previous toilet had a wax ring, scrape as much of the wax ring away from the drain hole as possible. Remove old flange bolts by unscrewing the nut on the bolt, and twisting the bolt out of the flange.
- If your flange looks good – no further steps are needed. If the flange looks cracked or it’s leaking, this might be a good place to call a professional. If you want to replace the flange, you can, but you need to keep in mind the size and thickness of the flange.
- Add new flange bolts and tighten to the flange with given nuts
- When you are ready to install the toilet, remove the rag from the drain hole (DON’T FORGET THIS STEP!)
Install the new toilet:
- Lay wax ring (or rubber ring) over the drain hole.
- *This part is easier with two people but can be done with one: pick up the toilet bowl, being careful to lower so the holes line up DIRECTLY over the bolts, lower the toilet down to cover the drain hole. (be cautious, these bolts can crack the toilet.)
- Sit on the toilet, letting your weight push the toilet down to create a seal with the new wax ring.
- Hand tighten the bolts to secure the toilet bowl to the floor. Tightening too much could crack the porcelain. If you purchase a 1-piece toilet, skip the next 2 steps.
- For the tank, there should be a rubber gasket around the large hole at the bottom. If not, add the gasket from the supplies that came with the purchased toilet. Set the tank onto the back of the bowl, so the rubber gaskets line up with the back of the toilet bowl.
- Hand tighten the nuts underneath that secure the toilet bowl to the toilet tank.
- Re-attach the water line (it is best to replace the water line). No need to use teflon tape or any other material.
- Turn the water back on SLOWLY – allow the water to fill the tank and the bowl. Watch the connections to make sure they don’t leak.
- Once the tank and the bowl are filled, flush the toilet to ensure it works properly.
- Attach the seat using the included hardware.
Final thought:
Should you caulk around the toilet base? My answer: no. Here’s why: if the toilet does start to leak at any point, you might not notice this leak until it rots the floor below the toilet, as the caulk would contain a slow leak. If the toilet leaks, trust me, you’ll want to know as soon as possible.
Check out my full master bathroom renovation!
Happy DIY’ing!

Complete DIY Master Bathroom Renovation - Two Hands DIY
[…] Replacing the toilet […]