
After building the custom sliding barn door for my master bathroom renovation, a friend of mine asked if I would build a couple barn doors for a couple doorways in her basement. She sent me a few pictures she liked and the doorway opening measurements, and we were on our way! Check out the full build instructions below!
The doorways I built these doors for were 38.5″ x 80, and 35″ x 80″, so the doors I built were 40.5″ x 83″ and 37″ x 83″, respectively. Generally, when building a sliding barn door, you want at least an inch of overlap on each side for the opening you are covering. So for the first door width, 38.5″, if you add 1″ to each side (a total of 2″), that is why the overall door width is 40.5″.
When measuring the door opening, take a measurement from the bottom, middle and top of the doorway, and use the widest measurement as your base.
The average door opening is 36″ x 80″, so that is what I’m going to use for the recommended material quantities below, but this should be adjusted based on the measurements of your door opening. With a door opening of 36″ x 80″, the door you would build would be 38″ x 83″.
Materials:
- (8) – 1x6x8′ tongue and groove boards
- (2) – 1x6x8′ rough sewn pine lumber
- (1) – 1x4x10′ rough sewn pine lumber
- sliding barn door hardware kit
- barn door handle
- 1 qt. Minwax English Chestnut stain
- 1 qt. Warm Semi gloss polyurethane
- Clean rags
- Latex Gloves
- Cheap nylon paintbrush
- 1 1/4″ construction screws
- Wood Glue
Tools:
- Circular Saw
- Drill/Impact Driver
- Clamps
- Measuring Tape
- Chopsaw (helpful, not necessary)
- Speed Square (helpful, not necessary)
I like to line up the boards before I start gluing. It makes things go a little smoother.

There are two sides to these boards. One will have a channel once together (shown below along the top side), and one side will form a simple gap (the bottom side of the photo shown below). If you have these same boards, make sure to line up the front and back appropriately.

Add a line of glue inside the entire groove of the board, then squeeze two boards together, lining up the top and bottom of the boards. It doesn’t need to be perfect, just pretty close. Repeat for all tongue and groove boards.

Once all the boards are glued, clamp them together to squeeze the tongue and groove as tight as it will go. You will need larger clamps, something that will span at least 40”.
It will be easier to avoid waviness if you add a scrap piece of wood to the top and underside of the door to keep it straight as the glue dries. Wipe any excess glue off immediately. Leave this to sit for an hour or so to let the glue dry completely.

Mark a line at the bottom to cut a straight bottom edge, just enough to cut off the uneven edge. Also mark a STRAIGHT line along the tongue side.

This tongue side will need to be cut off, but it’s very important it’s cut straight. Be sure these first two cuts are square.

Cut the bottom and tongue side. Next measure the other side – 39″, and the top – 83″. I like to use my 4′ level as a straight edge to draw the line.

Using my circular saw, I cut the remaining edges.

Next I cut two of 1x6x8′ boards to 83″. These are the vertical pieces that go on the left and right side of the door, and should match the total height of the door.


Once the left and right pieces were cut, I glued both the 1×6 piece (on the rough sewn side), and the door, and then clamped the board in place. Once I was happy with how the board was lined up, I immediately secured it using 1 1/4″ screws, staggering them randomly. For this style of door, which is more on the rustic side, I wanted to stagger the screws randomly so it added to the rustic feel.

I measured the bottom piece, which should be 27”, and using my speed square, I drew a straight line to cut against. I cut 3 pieces of 1×6 at 27″.

The top and bottom should be just lined up with the edge, glued and secured the same way as the left and right piece, using 1 1/4″ screws, making sure the rough sewn side is facing down. Clamping these boards in place can also be helpful. The clamps can be removed once the screws have been added.
For the center piece, I measured and marked the center of the door (which is 41.5″), and I also measure the center of the 1×6 and marked a line here is well (at 2.75″).
Once I had these places marked with a pencil, it was as simple as lining them up, and then gluing and securing with 1 1/4″ screws again.

Next, cut a 1x4x10′ board so the tip is at a point. Mark the center of the board edge (at 1.75″) and cut a 45 degree angle on both sides of the center line.

This should point in the direction where you plan to place the door handle. Once one side has been cut, mark the other side so the point will sit nicely in the corner.

Once again, glue and secure these boards using the 1 1/4″ screws. That’s the end of the build!

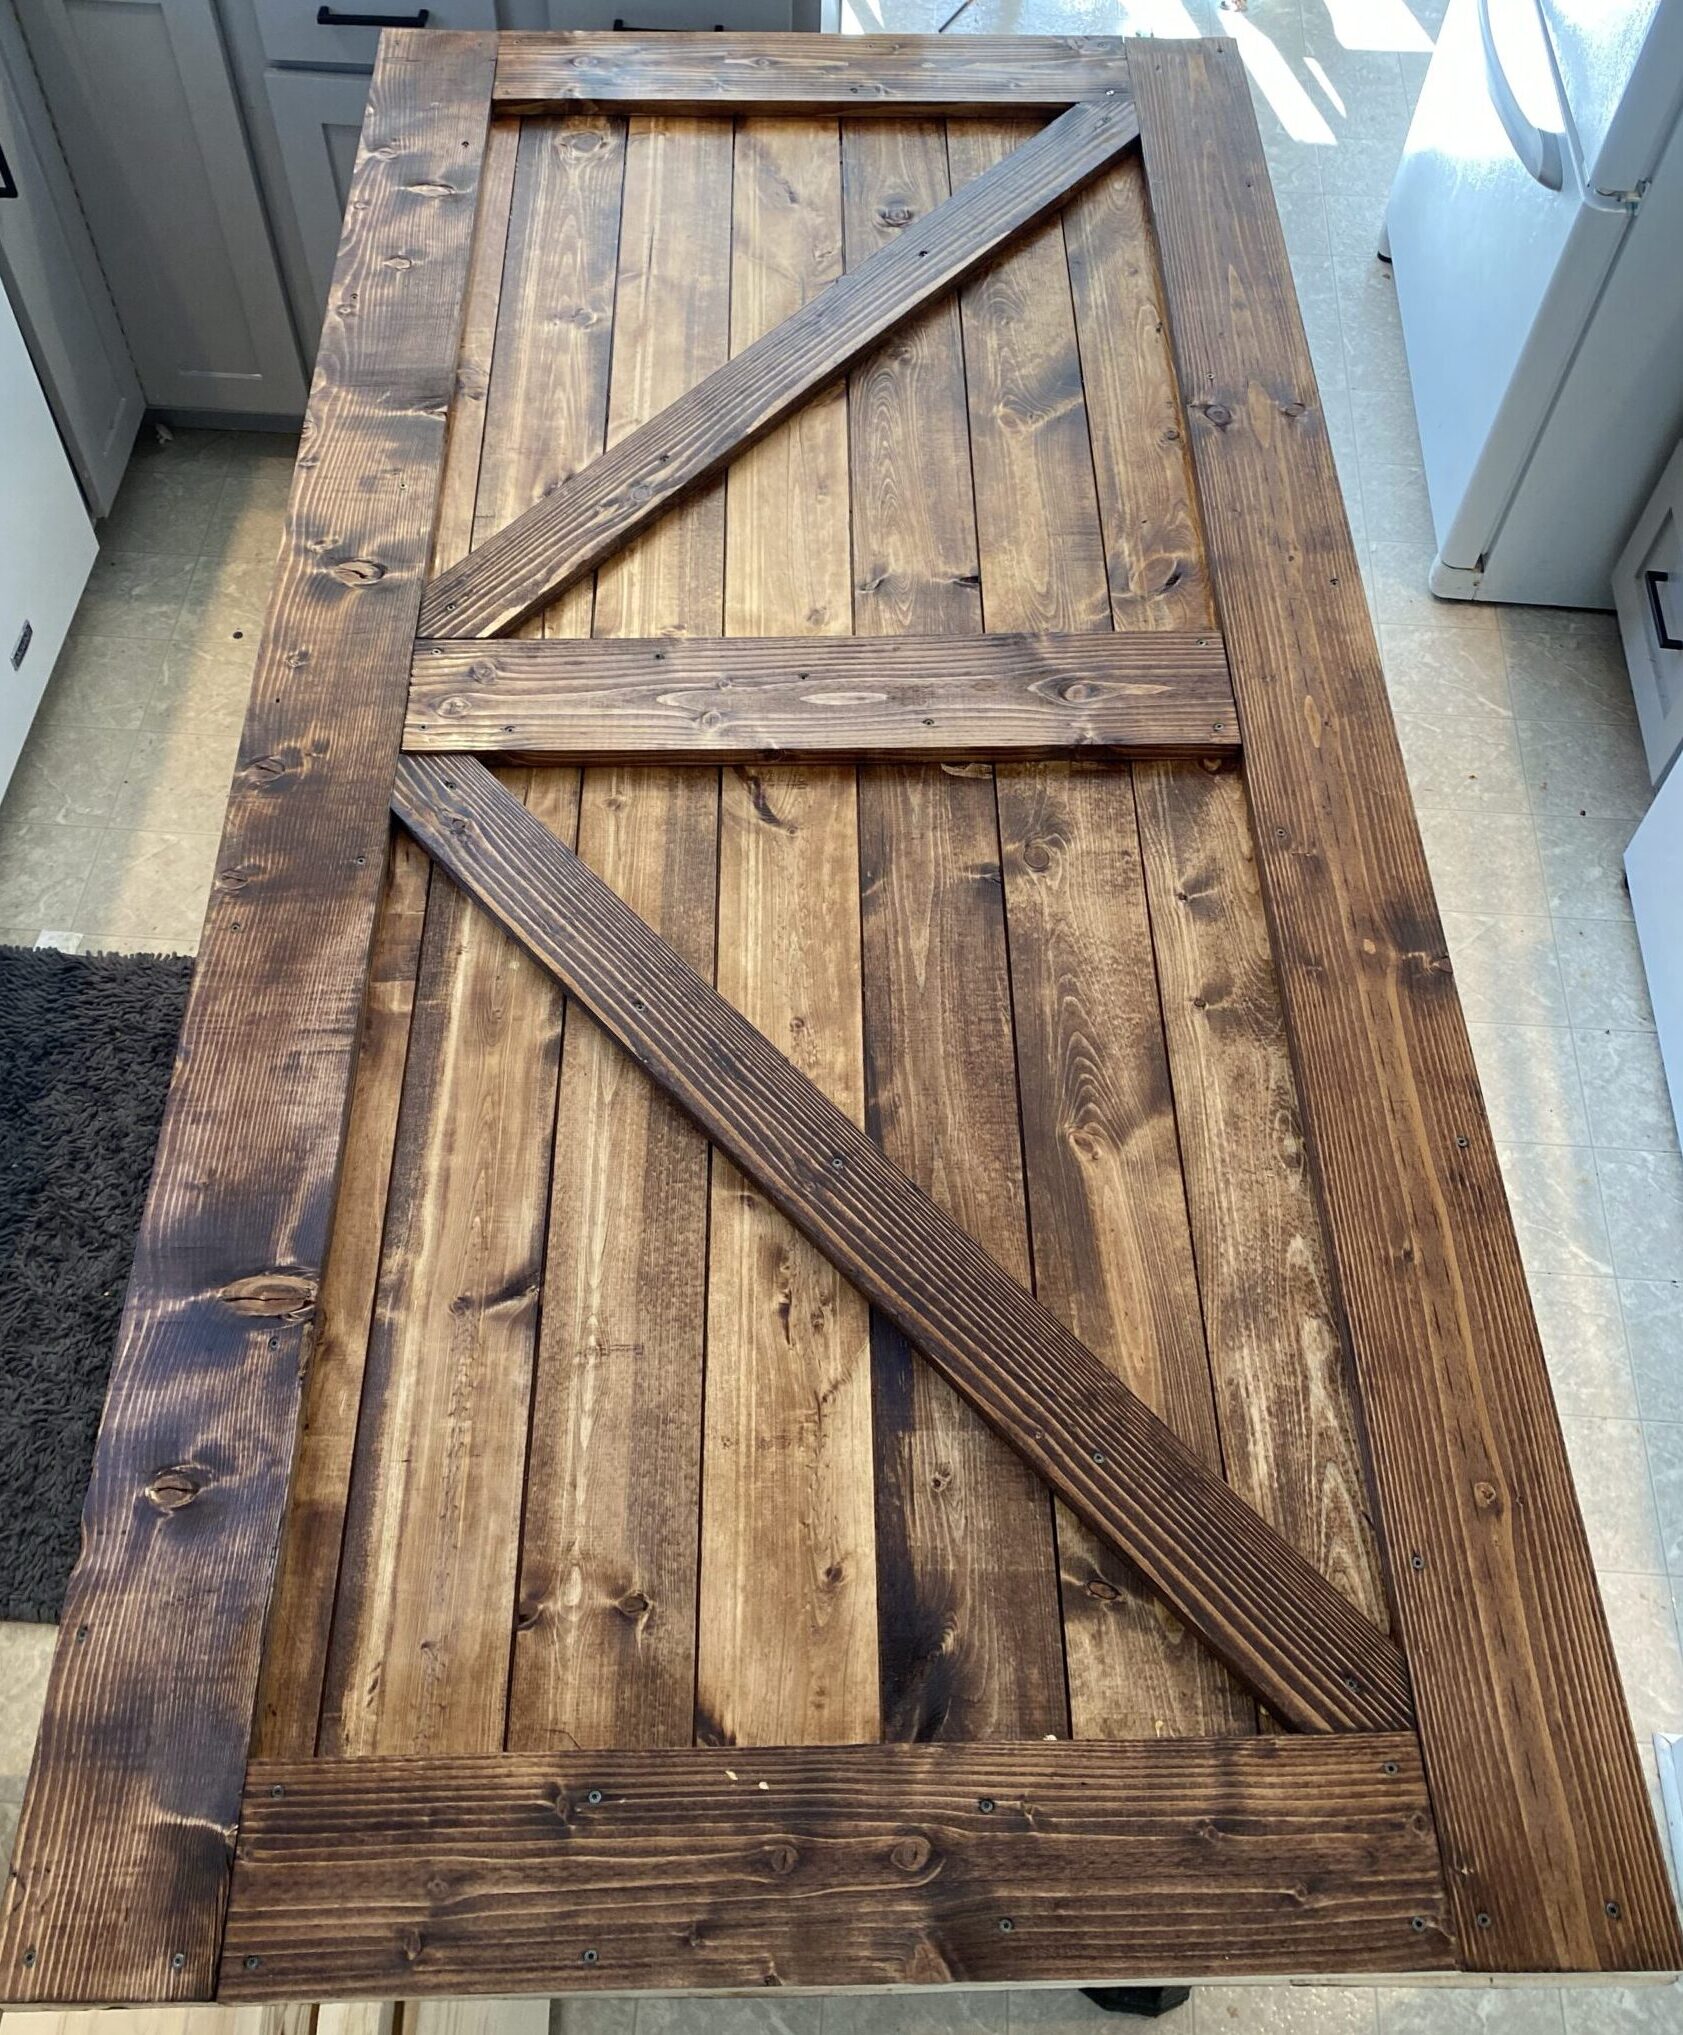
Because this door was supposed to be more rustic in style, I opted to skip sanding. I really wanted to have a lot of texture on the door, and I thought sanding it would make it more uniform. I’m glad I did, as it ended up with a lot of character. What do you think? Do you think I should’ve sanded it?
Using latex gloves, and clean white tshirt rags, I coated the entire door with Minwax English Chestnut stain. I think this color turned out so beautiful! It looks even better in real life, so rich and warm! I let the stain dry overnight before adding the sealer.

Using a cheap nylon brush, I added a couple healthy coats of Warm Semi gloss polyurethane to seal it, and allowed it to dry completely. I like using a cheap nylon brush, because I just end up throwing it away after I use it with polyurethane.

I will be helping my friend install these doors in her home. The only steps that are left now are to install the barn door handle, and then mount the door onto the sliding barn door hardware kit. I will update the post once that is complete.
What do you think of this door? I ended up feeling kind of jealous that this wasn’t going in my own home! I think it turned out really beautiful, and I can’t wait to see it up in her home!
Please SUBSCRIBE to be notified when new project posts come out!
Happy DIY’ing!
