
The most important thing to remember is: TURN OFF THE POWER. This can be done very easily by locating your circuit breaker box, finding the fuse that corresponds to the outlet you are replacing, and turning it to the “OFF” position.
To turn off the power, locate your circuit breaker (usually in the basement by your furnace or water heater). There will be a lot of black switches, and usually each switch is numbered and there will be some kind of guide to know which switch goes to which section of the house. Mine looks like this. Notice all the switches are turned to “ON”.

Each circuit breaker is numbered, and there is a guide telling me which circuit breaker powers each area of my house so if I want to turn off the power to my Dishwasher for example, I can turn off the power source to it, without turning off the power to the whole house. If your home is older and doesn’t have this kind of system, you may want to reach out to a professional. I am NOT A PROFESSIONAL ELECTRICIAN, and therefore you complete this type of DIY at your own risk.
To turn off the power with this type of system, simply flip the appropriate circuit breaker to the “OFF” position (see example below).

To make sure the power is off to the location you are working with, use this Voltage Tester Pen. Once you are certain the power is off, unscrew the current outlet from the wall. Pull the outlet and the cords out of the box. There should be AT LEAST a Black, White, and Copper wire (Note: The copper wire is the ground wire, and this is sometimes a green wire. They are essentially the same. As long as one or the other is present). It is ok if there is a reddish-pink wire present also, but a reddish-pink wire is not always present. If this one isn’t present, it’s not a concern.

-STOP- If you have more colors than black, white, green/copper, or one or more of these colors is missing, I would suggest calling a professional electrician. If there is black, white, and green present continue. Again, I am NOT A TRAINED/CERTIFIED ELECTRICIAN. If you attempt this kind of update, you do so at your own risk. If you do not hire a certified electrician to complete electrical work, I would suggest at least having one check your work to ensure it is done safely and with all necessary precautions taken until you have more experience with this kind of update.
The black wire is the Hot wire, the white wire is the Neutral wire, and the Green/Copper wire is the ground. When I’m removing the wires, I always try to remove Hot first, then Neutral, then Ground. When putting the wires back in place, I go in the opposite order, Ground first, then Neutral, then Hot.
For this step you will also need a wire cutter, and a wire stripper. Cut or remove the wire from the old outlet (you may have to cut it, or simply remove it from the screw holding it in place). If necessary, strip about a half inch of the sleeve off the end of the wire to expose the inner wire.
The outlets I like to use are the Leviton Tamper Resistant Duplex. These outlets block any access unless a 2-prong plug is inserted. This helps with child-safety as the outlet won’t be open to receive single-prong objects or toys. (*Keep in mind that these may be required in your area – it is best to check with your local inspector on if there are any requirements on the type of outlets you install).

These outlets also make installation super easy, because you simply insert the wire into the appropriate hole in the backside of the outlet (Black = Hot, White = Neutral). The ground wire goes around the green screw at the bottom. Pro tip: when securing the wire around a screw, ensure the hook is pointing in the same direction that you are tightening (see video for reference).
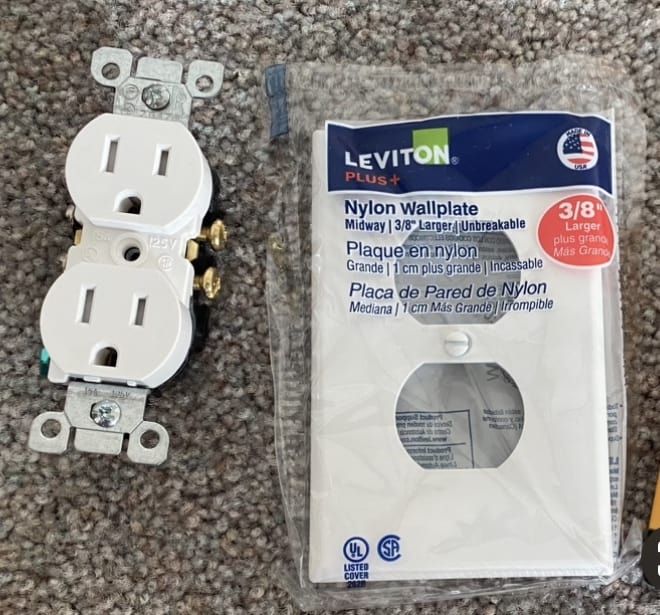
After installing the wires into the new outlet, simply tuck the excess wires back into the box, and secure the outlet in place. Don’t forget the cover!

Once the outlet is completely re-installed, return to the circuit breaker and return the fuse to the “ON” position.
Please SUBSCRIBE below to be notified when new project posts come out!
Happy DIY’ing!
Disclosure: Twohandsdiy.com participates in the Amazon Services LLC Associates Program, an affiliate advertising program designed to provide a means for publishers to earn fees by linking to Amazon.com and affiliated sites.
