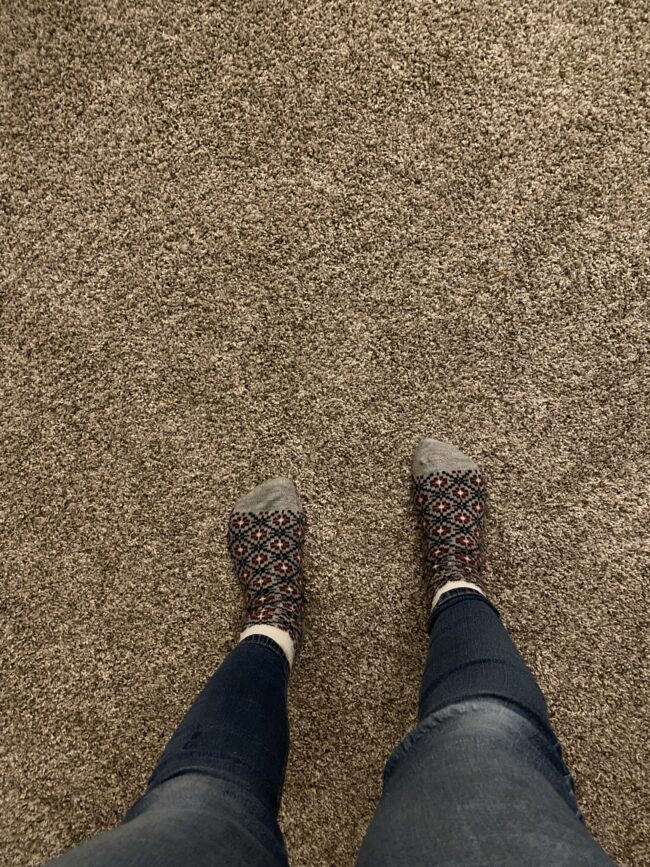
My house was built in 1995, and all signs point to this being the original carpet. It was in very poor shape. I have installed vinyl floors, click-lock laminate flooring, and tile, so I wanted to see if I could install carpet, cause, why not?

Here’s my master bedroom with all the furniture cleared out. The carpet was in really rough shape, so I was very happy to remove it! I started by removing all the baseboards. I wasn’t careful with removing them, cause I knew I was going to be installing new baseboards after the carpet install. Removing the baseboards also made removing the carpet a bit easier.

I pulled up a corner. The new carpet roll comes in 12 foot width, but the room is 15 x 15 feet so I knew I was going to have a seam somewhere. I figured if I knew where the seam was in the old carpet, I would just have the seam in the same place in the new carpet.

I cut the old carpet into 4-5 widths, and rolled them up. This made removal much easier.

Once the carpet was gone, the padding came up very easy. I discarded this also. This left the staples in the subfloor, and the tack strips along the edge of the room. I left the tack strips in place.
To easily remove the staples, I used the flat side of my crow bar and simply scraped along the floor.
Once all the staples were removed, I used my shop vac to vacuum up everything left behind, like staples, excess sand, and carpet pad. I wanted to make sure that nothing was left that could create lumps under the new carpet.
Let the fun begin! I opted for a higher quality pad. I simply unrolled it so it was laid just inside of the tack strips.
Once it was unrolled, I used my hammer stapler to add some staples every 12-18″ or so, just along the edge of the padding.
The padding comes in 6 foot widths, so it was necessary to seam the padding together. This was pretty simple, I used painters tape (cause that’s what I have on hand) to tape the two rolls together and then added a couple staples down the tape-seam every couple of feet.

Here’s the finished look with the carpet pad

Here’s the real exciting moment! I unrolled the roll of new carpet, and the light shone in and it was a new day! Ok, it wasn’t like that, but it was pretty exciting for this momma!

I used this knee kicker to stretch the carpet, starting in the middle of the wall behind the door, and working towards the corners of the room. I repeated this on each side of the room. I used carpet tape under the area that joined the two sections of carpet together. The knee kicker wasn’t terribly fun, but it got the job done!

And in usual fashion, I almost forgot to take a picture “after” the work was done. I was too excited to get the furniture moved back in, so here is the after shot with some of the dismantled furniture ready to go.
Stay tuned for the full room makeover!
Please SUBSCRIBE below to be notified when new project posts come out!
Happy DIY’ing!
Disclosure: Twohandsdiy.com participates in the Amazon Services LLC Associates Program, an affiliate advertising program designed to provide a means for publishers to earn fees by linking to Amazon.com and affiliated sites.


Master Bedroom Before and After: Extra cozy and bright! - Two Hands DIY
[…] New carpet […]
How to add picture frame molding - Two Hands DIY
[…] And the final reveal after the final coat of paint, mirrors hung, baseboard trim replaced, and the new carpet installed! […]